
1/9

Model Overview & Print Notes
https://github.com/RamonWeb/Klipper_Steuerung_RaspberryPi5
#################
Enclosure is a remix of "Raspberry Pi 4 & 5 Mini Server Rack Case"
https://makerworld.com/models/180806
by @jonthemiller
################
## Klipper Control with Raspberry Pi 5 and NVMe
This project enables the control of a 3D printer using Klipper firmware on a Raspberry Pi 5, along with an NVMe storage expansion and various sensors and relays.
## Features
- Use of Klipper firmware for improved 3D printer control and performance.
- Connection of an NVMe storage expansion for fast access to print files and improved print times.
- Integration of sensors for more precise monitoring of the printing process:
- 2x DS18B20 temperature sensors: One in the print chamber and one in the filament storage to monitor temperature.
- Plug-on ADXL345 accelerometer for measuring acceleration and resonance during printing.
- 2 relays to control the LED lighting in the print chamber and filament storage, which can be switched individually.
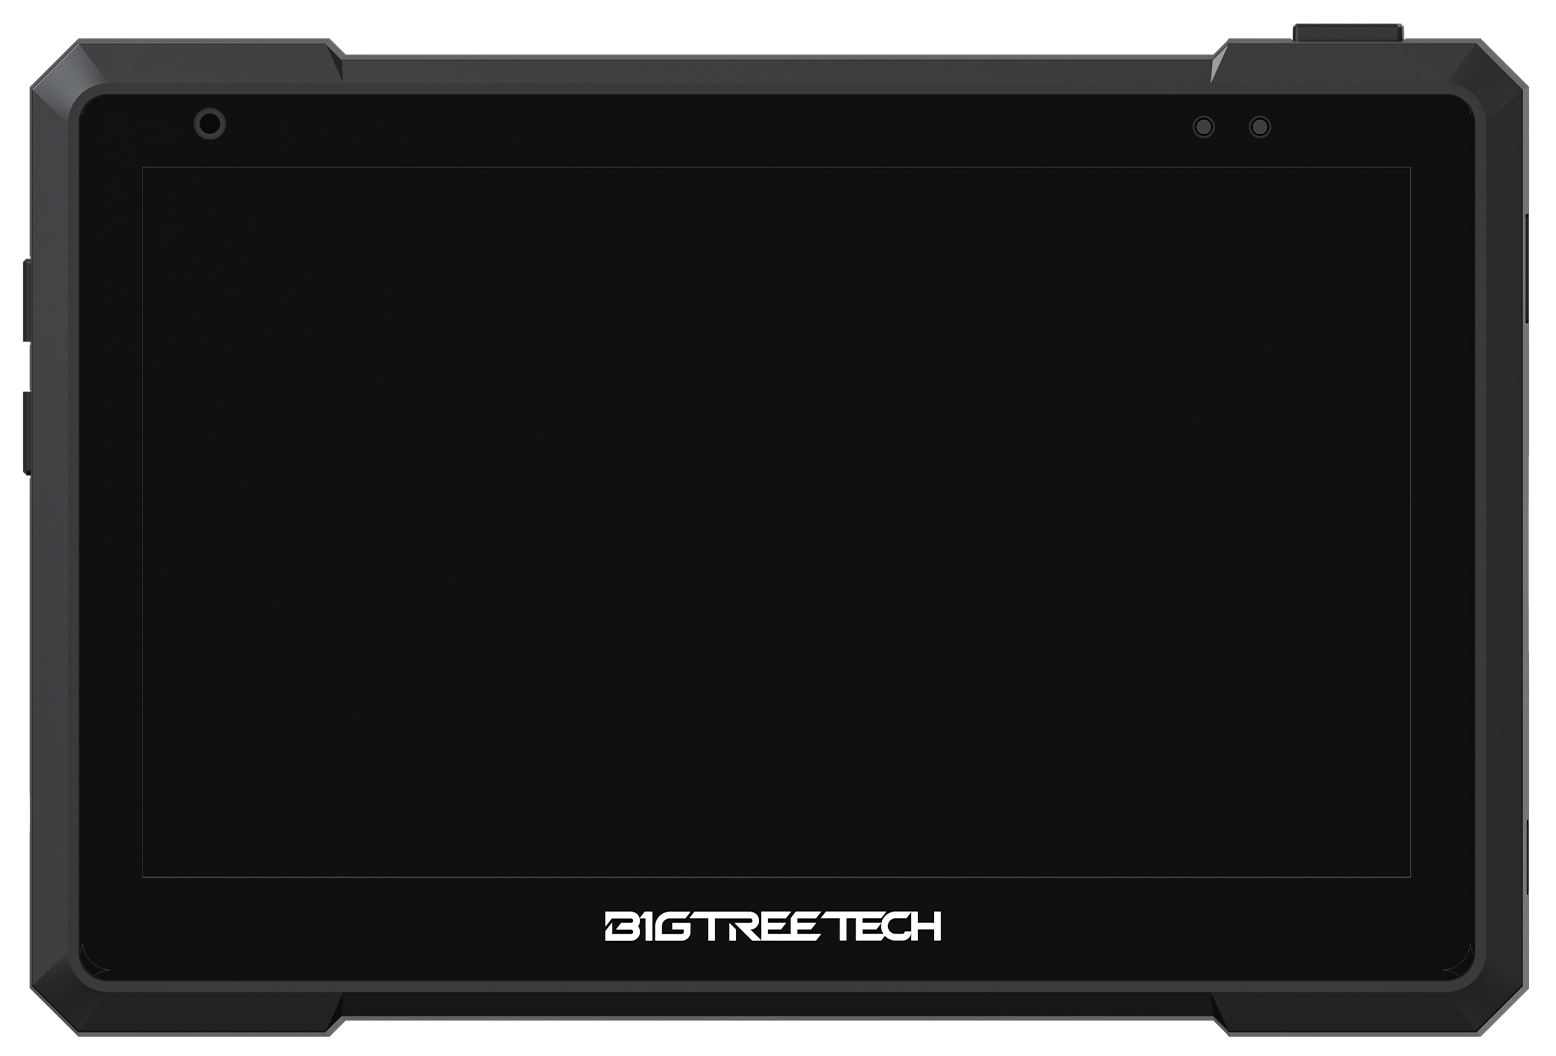
- 5-inch DSI touch display for displaying Klipper status information and operating the printer.
- Raspberry Pi camera for monitoring the printing process.
## Hardware Requirements
- Raspberry Pi 5 or compatible single-board computer
- NVMe storage expansion
- 2x DS18B20 temperature sensors
- Plug-on ADXL345 accelerometer
- 2 relays
- 5-inch DSI touch display
- (Raspberry Pi camera)
Raspberry Pi OS images based on Debian 12 (codename 'bookworm') currently use a different branch of the camera streamer! The Raspberry Pi 5 only supports
ustreamer! This is due to the lack of JPEG and H264 hardware encoders.
- with USB cam it's ok..
## Installation and Configuration
1. Download the Klipper firmware and follow the instructions on their GitHub repository for installation.
2. Connect the NVMe storage expansion, sensors, 5-inch DSI touch display, and USB camera to the Raspberry Pi according to the manufacturer's instructions.
3. Configure the Klipper firmware to recognize and control the sensors, relays, and display. An example configuration is included in the repository.
4. Connect your 3D printer to the Raspberry Pi and test the functionality.
KIAUH -- Klipper Installation And Update Helper
(https://github.com/dw-0/kiauh)
sudo apt-get update && sudo apt-get install git -y
cd ~ && git clone https://github.com/dw-0/kiauh.git
./kiauh/kiauh.sh
## Support
If you like this project and would like to support me, feel free to
Hardware Links
Raspberry Pi 5
Pimoroni NVMe Base --> https://www.amazon.de/dp/B0CTK1RLN5
Pi 5 Camera Cable CSI Display DSI Cable 22pin to 15 Pin --> https://s.click.aliexpress.com/e/_Dn23HRj
Pi 5 Zero Camera Cable 15 30 cm Ribbon --> https://s.click.aliexpress.com/e/_Deio6RJ
FFC flexible cable adapter board --> https://s.click.al0express.com/e/_DE63QrP
Raspberry Pi 4 camera 5mp --> https://s.click.aliexpress.com/e/_DkESS4p
Sensor ADXL345 digital three-axis acceleration --> https://s.click.aliexpress.com/e/_DCgDxRF
USB-CAM --> https://s.click.aliexpress.com/e/_DmlUNZp


💬CrealityCloud Community Comments(...)
★CrealityCloud Original Reviews