
1/8
Model Overview & Print Notes
CLICK ME FOR OUR HOME & LIVING COLLECTION
Follow us on Instagram (sektor7_studios_3d)
SHORT PREVIEW OF THE LAMP (CLICK ME)
Hello everyone :)
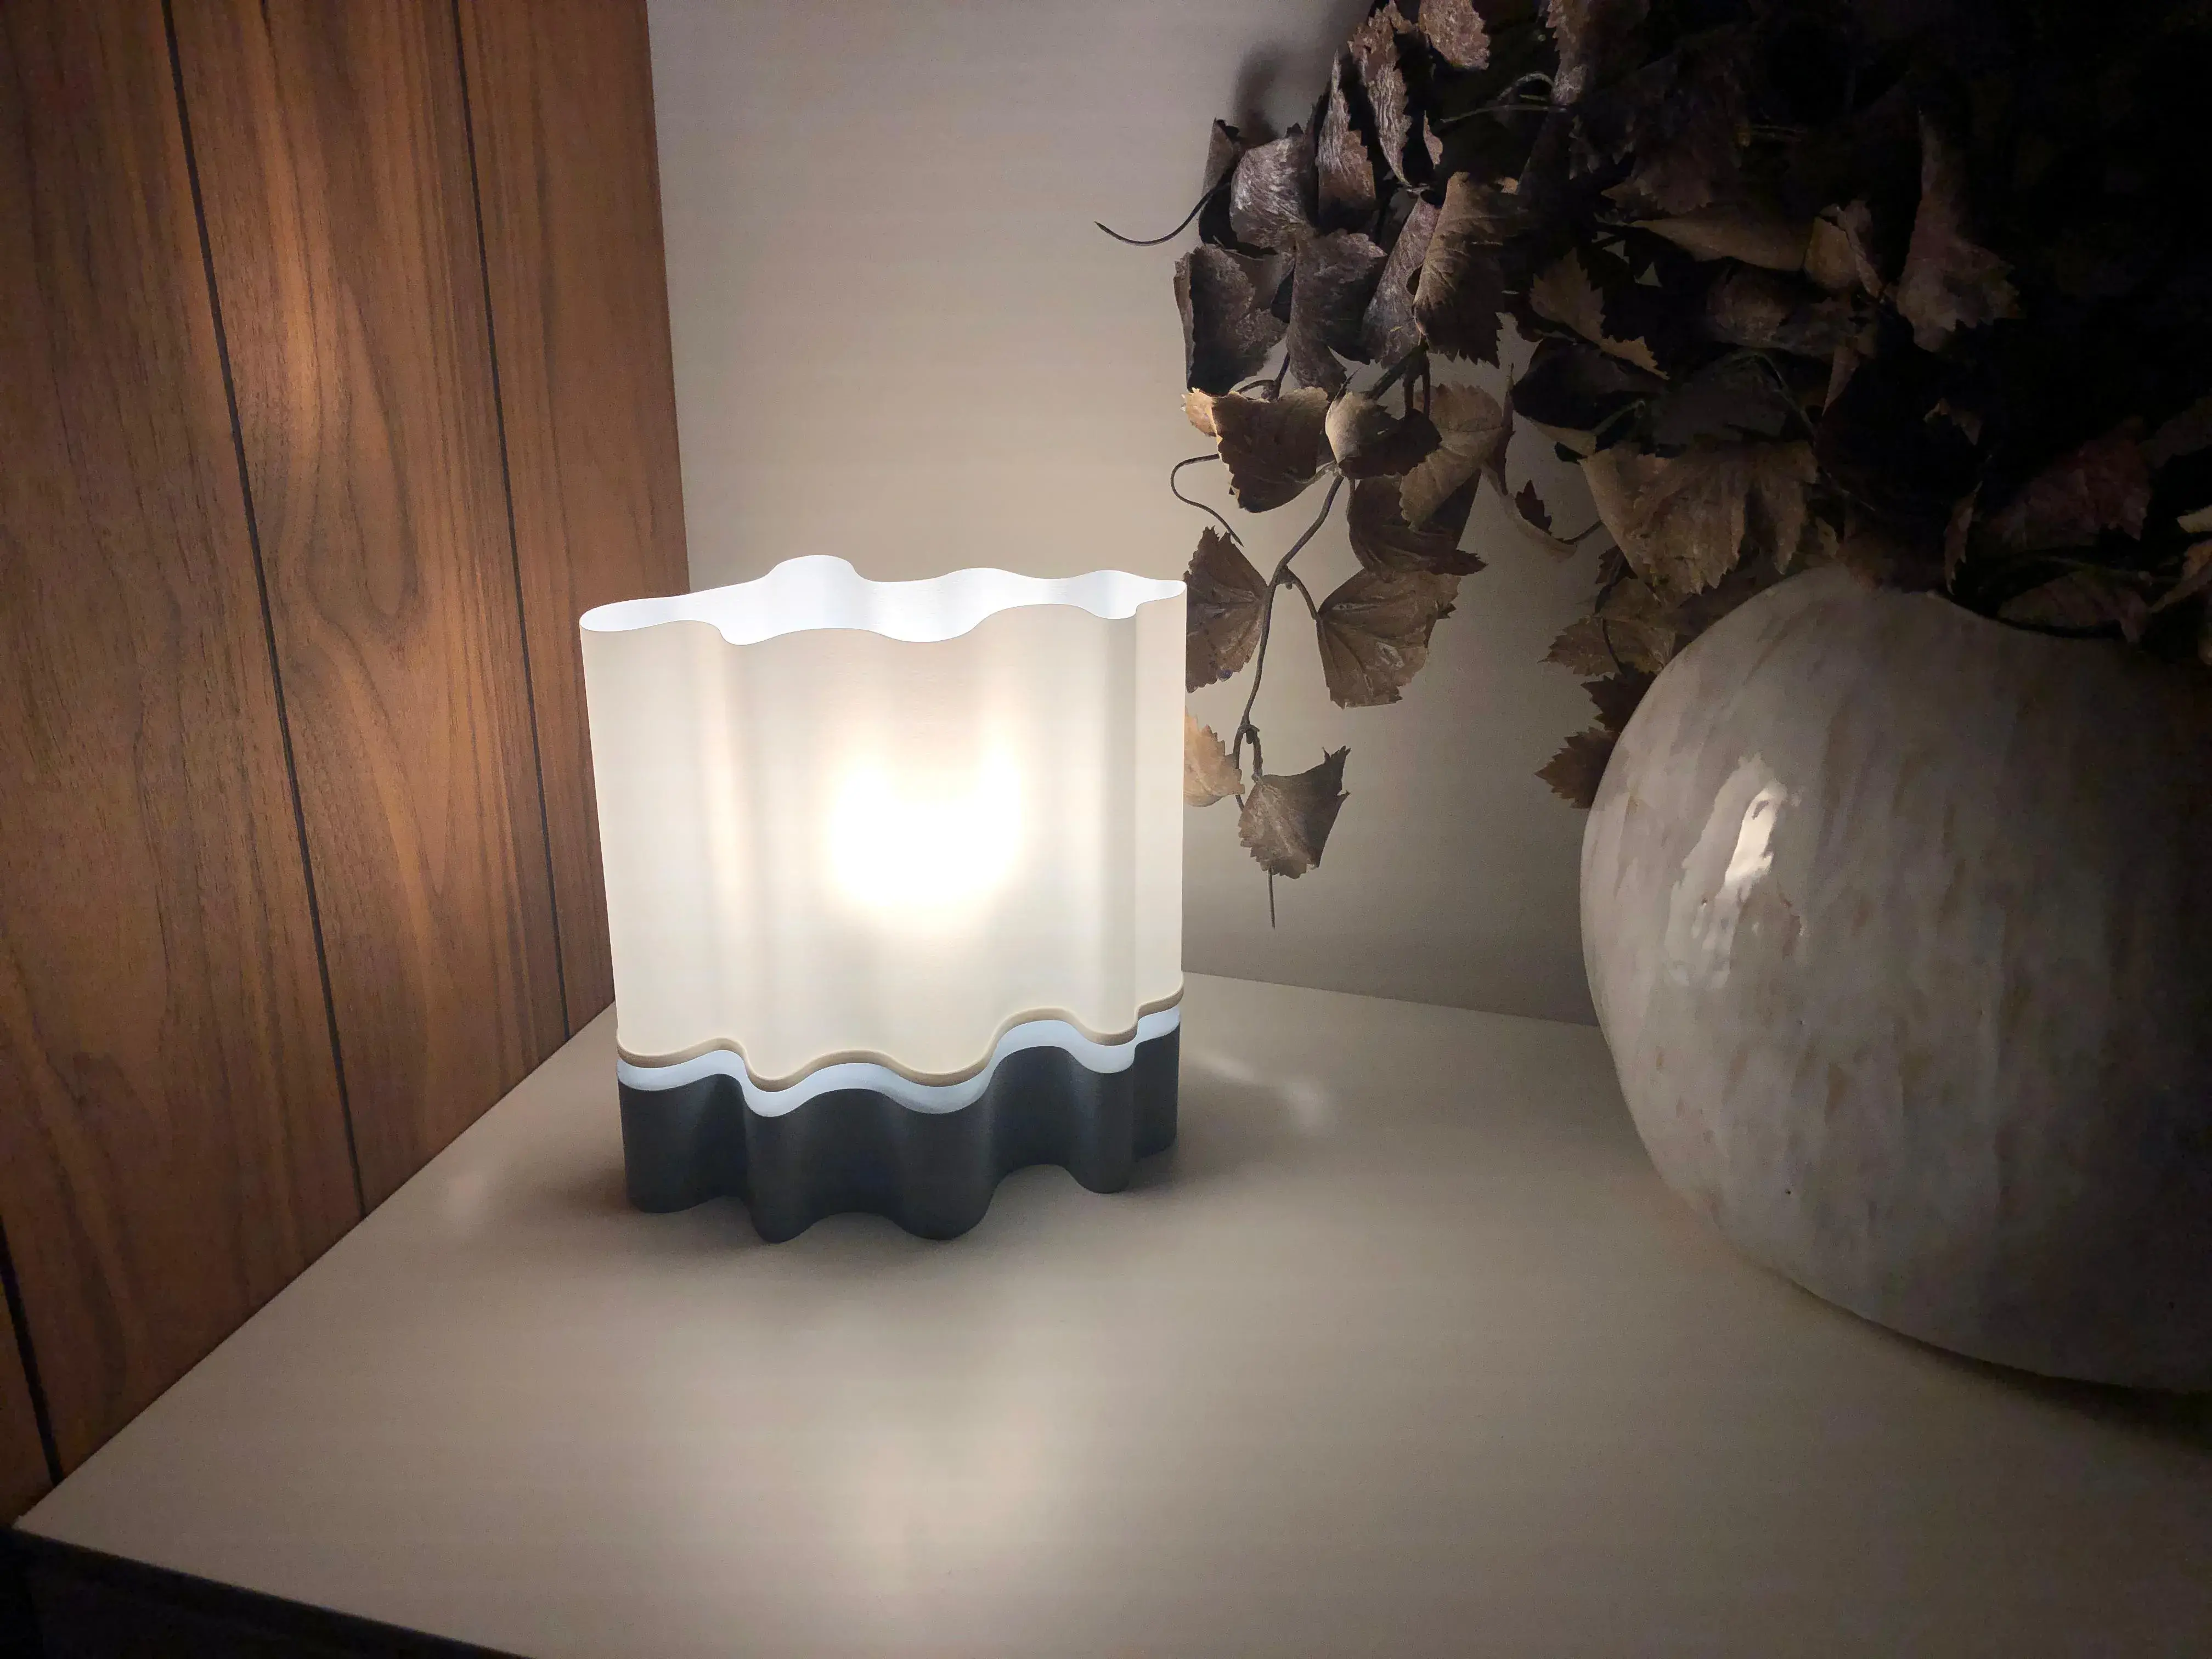
As we announced, we want to present our new lamp to you. Our Origimi Lamp comes in a modern & timeless design. The free-form shape gives the lamp a unique look that doesn't exist anywhere else. The lighting ambience is just great. Happy printing :)
As we announced, we want to present our new lamp to you. Our Origimi Lamp comes in a modern & timeless design. The free-form shape gives the lamp a unique look that doesn't exist anywhere else. The lighting ambience is just great. Happy printing :)
★ WHAT DO YOU NEED?
⭒ You only need a standard E14 socket. (for example this one: https://amzn.eu/d/cIyh6AD)
⭒ You only need a standard E14 socket. (for example this one: https://amzn.eu/d/cIyh6AD)
★ VARIANTS OF THE LAMPSHADE:
⭒ LAMPSHADE WITHOUT PATTERN (RECOMMENDED)
⭒ LAMPSHADE WITH PATTERN
⭒ LAMPSHADE WITHOUT PATTERN (RECOMMENDED)
⭒ LAMPSHADE WITH PATTERN
★ MOUNTING INSTRUCTIONS:
⭒ Print out the base, one of the lampshades, and the lampshade holder
⭒ Be careful when you remove the supports from the lampshade holder
⭒ Be careful when you remove the lampshade from the print bed
⭒ Place the lampshade on the lampshade holder in the right position and click the lampshade into place. This step requires some patience and skill.
⭒ After you install the lampshade on the lampshade holder, you can place the assembly on the base. Insert the E14 socket from below through the base and secure it with the nut of the E14 socket.
★ RECOMMENDED PRINT SETTINGS (BASE):
⭒ Filament: Bambu Lab PLA Matte brown & grey (used in our make)
⭒ Infill: 10% Gyroid or Grid
⭒ Layer Height: 0.2mm or 0.16mm
⭒ Walls: 2
⭒ Nozzle Size: 0.4mm
⭒ Support Structure: None needed, ensuring a hassle-free printing process.
⭒ Brim: None needed, but if you have adhesion problems, then activate the brim
⭒ Fuzzy Skin Settings (Settings --> Other --> Fuzzy Skin): All Walls / Fuzzy skin point distance: 0.5mm / Fuzzy skin thickness: 0.3mm
★ RECOMMENDED PRINT SETTINGS (LAMPSHADE HOLDER):
⭒ Filament: Bambu Lab PLA Matte brown, white & grey (used in our make)
⭒ Infill: 10% Gyroid or Grid
⭒ Layer Height: 0.2mm or 0.16mm
⭒ Walls: 2
⭒ Nozzle Size: 0.4mm
⭒ Support Structure: Needed!
⭒ Brim: None needed, but if you have adhesion problems, then activate the brim
★ RECOMMENDED PRINT SETTINGS (LAMPSHADE):
⭒ Filament: Bambu Lab PLA Matte brown, white & grey (used in our make)
⭒ Infill: 10% Gyroid or Grid
⭒ Layer Height: 0.2mm or 0.16mm
⭒ Walls: 2
⭒ Nozzle Size: 0.4mm
⭒ Support Structure: None needed, ensuring a hassle-free printing process.
⭒ Brim: None needed, but if you have adhesion problems, then activate the brim
⭒ Fuzzy Skin Settings (Settings --> Other --> Fuzzy Skin): All Walls / Fuzzy skin point distance: 0.3mm / Fuzzy skin thickness: 0.2mm
⭒ Vase Mode Settings (Settings --> Other --> Spiral vase): Activate
Best regards
Leon from Sektor 7 Studios

💬CrealityCloud Community Comments(...)
★CrealityCloud Original Reviews