
1/9
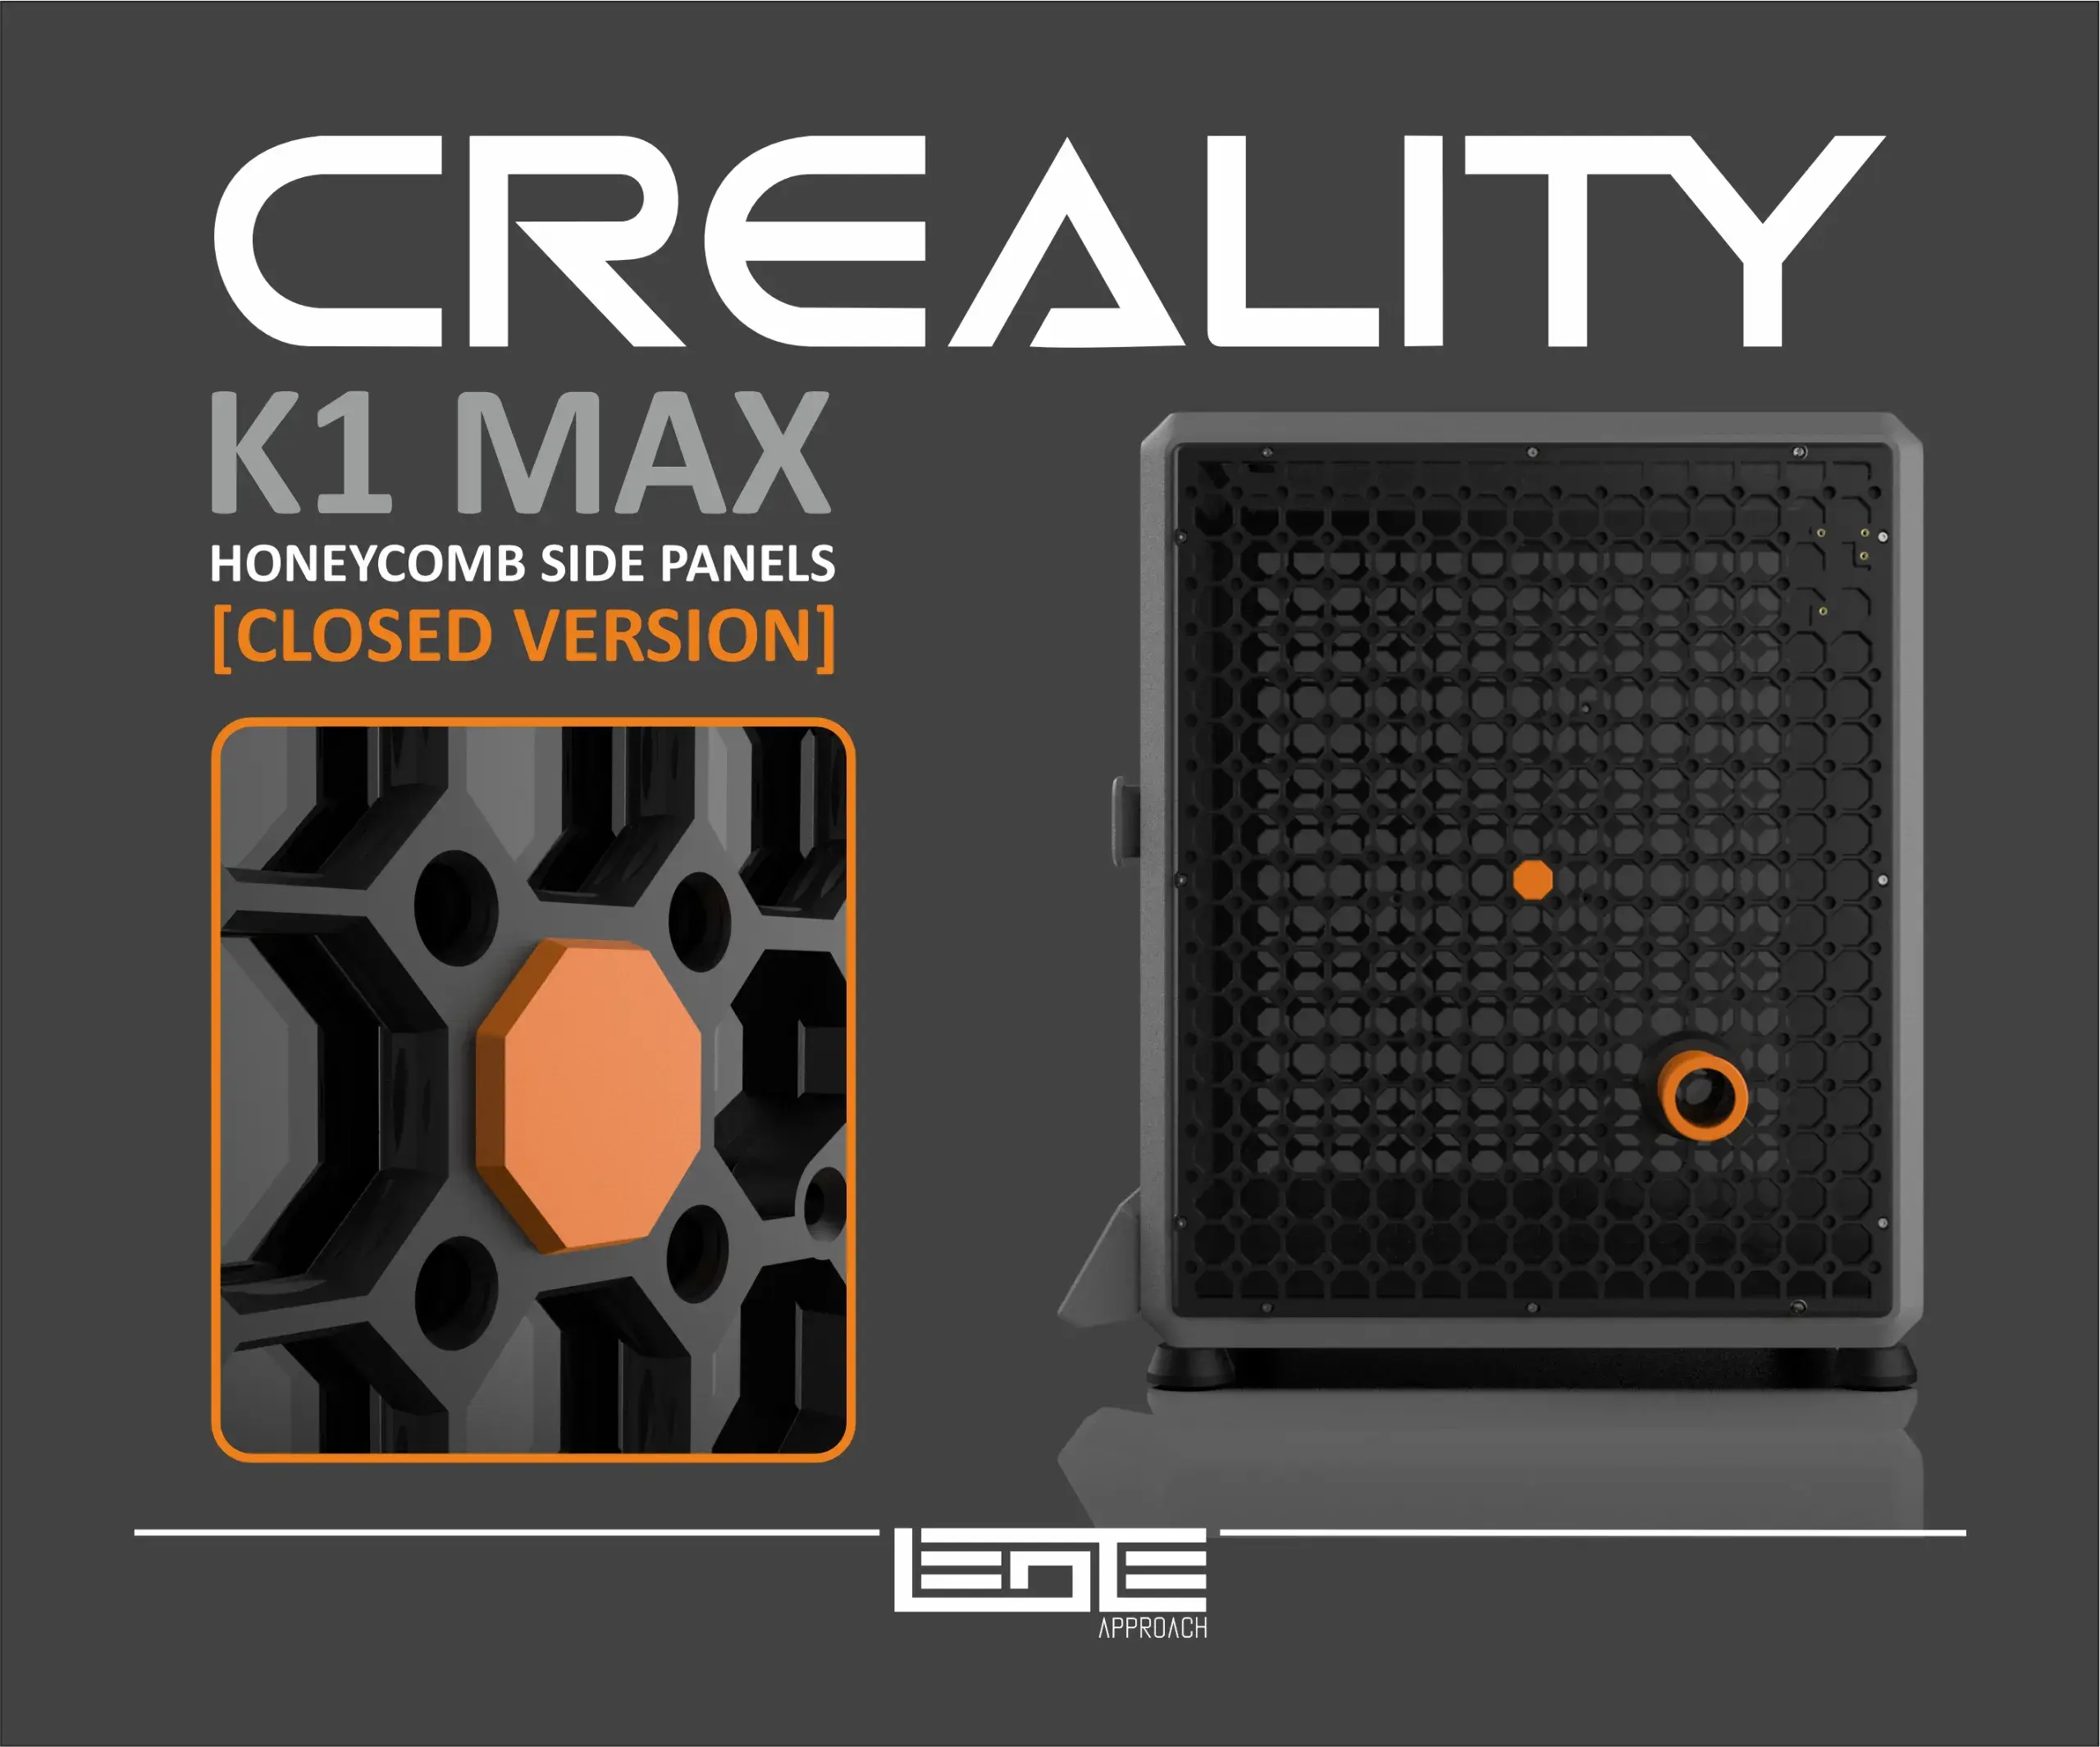
Model Overview & Print Notes
*If you have any issues with printing or assembly, feel free to message me, and I'll do my best to assist you 😉.
https://linktr.ee/leoteapproach
/////LINKS FOR THE HARDWARE USED IN ALL MY PROJECTS * affiliate links
INSERTS M3 x 4mm (L) x 5mm (D): https://amzn.to/3EovAVw
HEX SOCKET CAP M3 6mm-30mm (STAINLESS): https://amzn.to/4imGAQW
HEX SOCKET CAP M3 6-20mm (BLACK): https://amzn.to/3R7wjx4
FLAT HEAD SOCKET CAP M3 4mm-12mm (STAINLESS): https://amzn.to/3G3Z1wr
FLAT HEAD SOCKET CAP M3 8mm-25mm (BLACK): https://amzn.to/43JeThP
/////UPDATE 0.2 - 30/05/2025
K1 MAX – MULTIBOARD PANEL OPTIONS
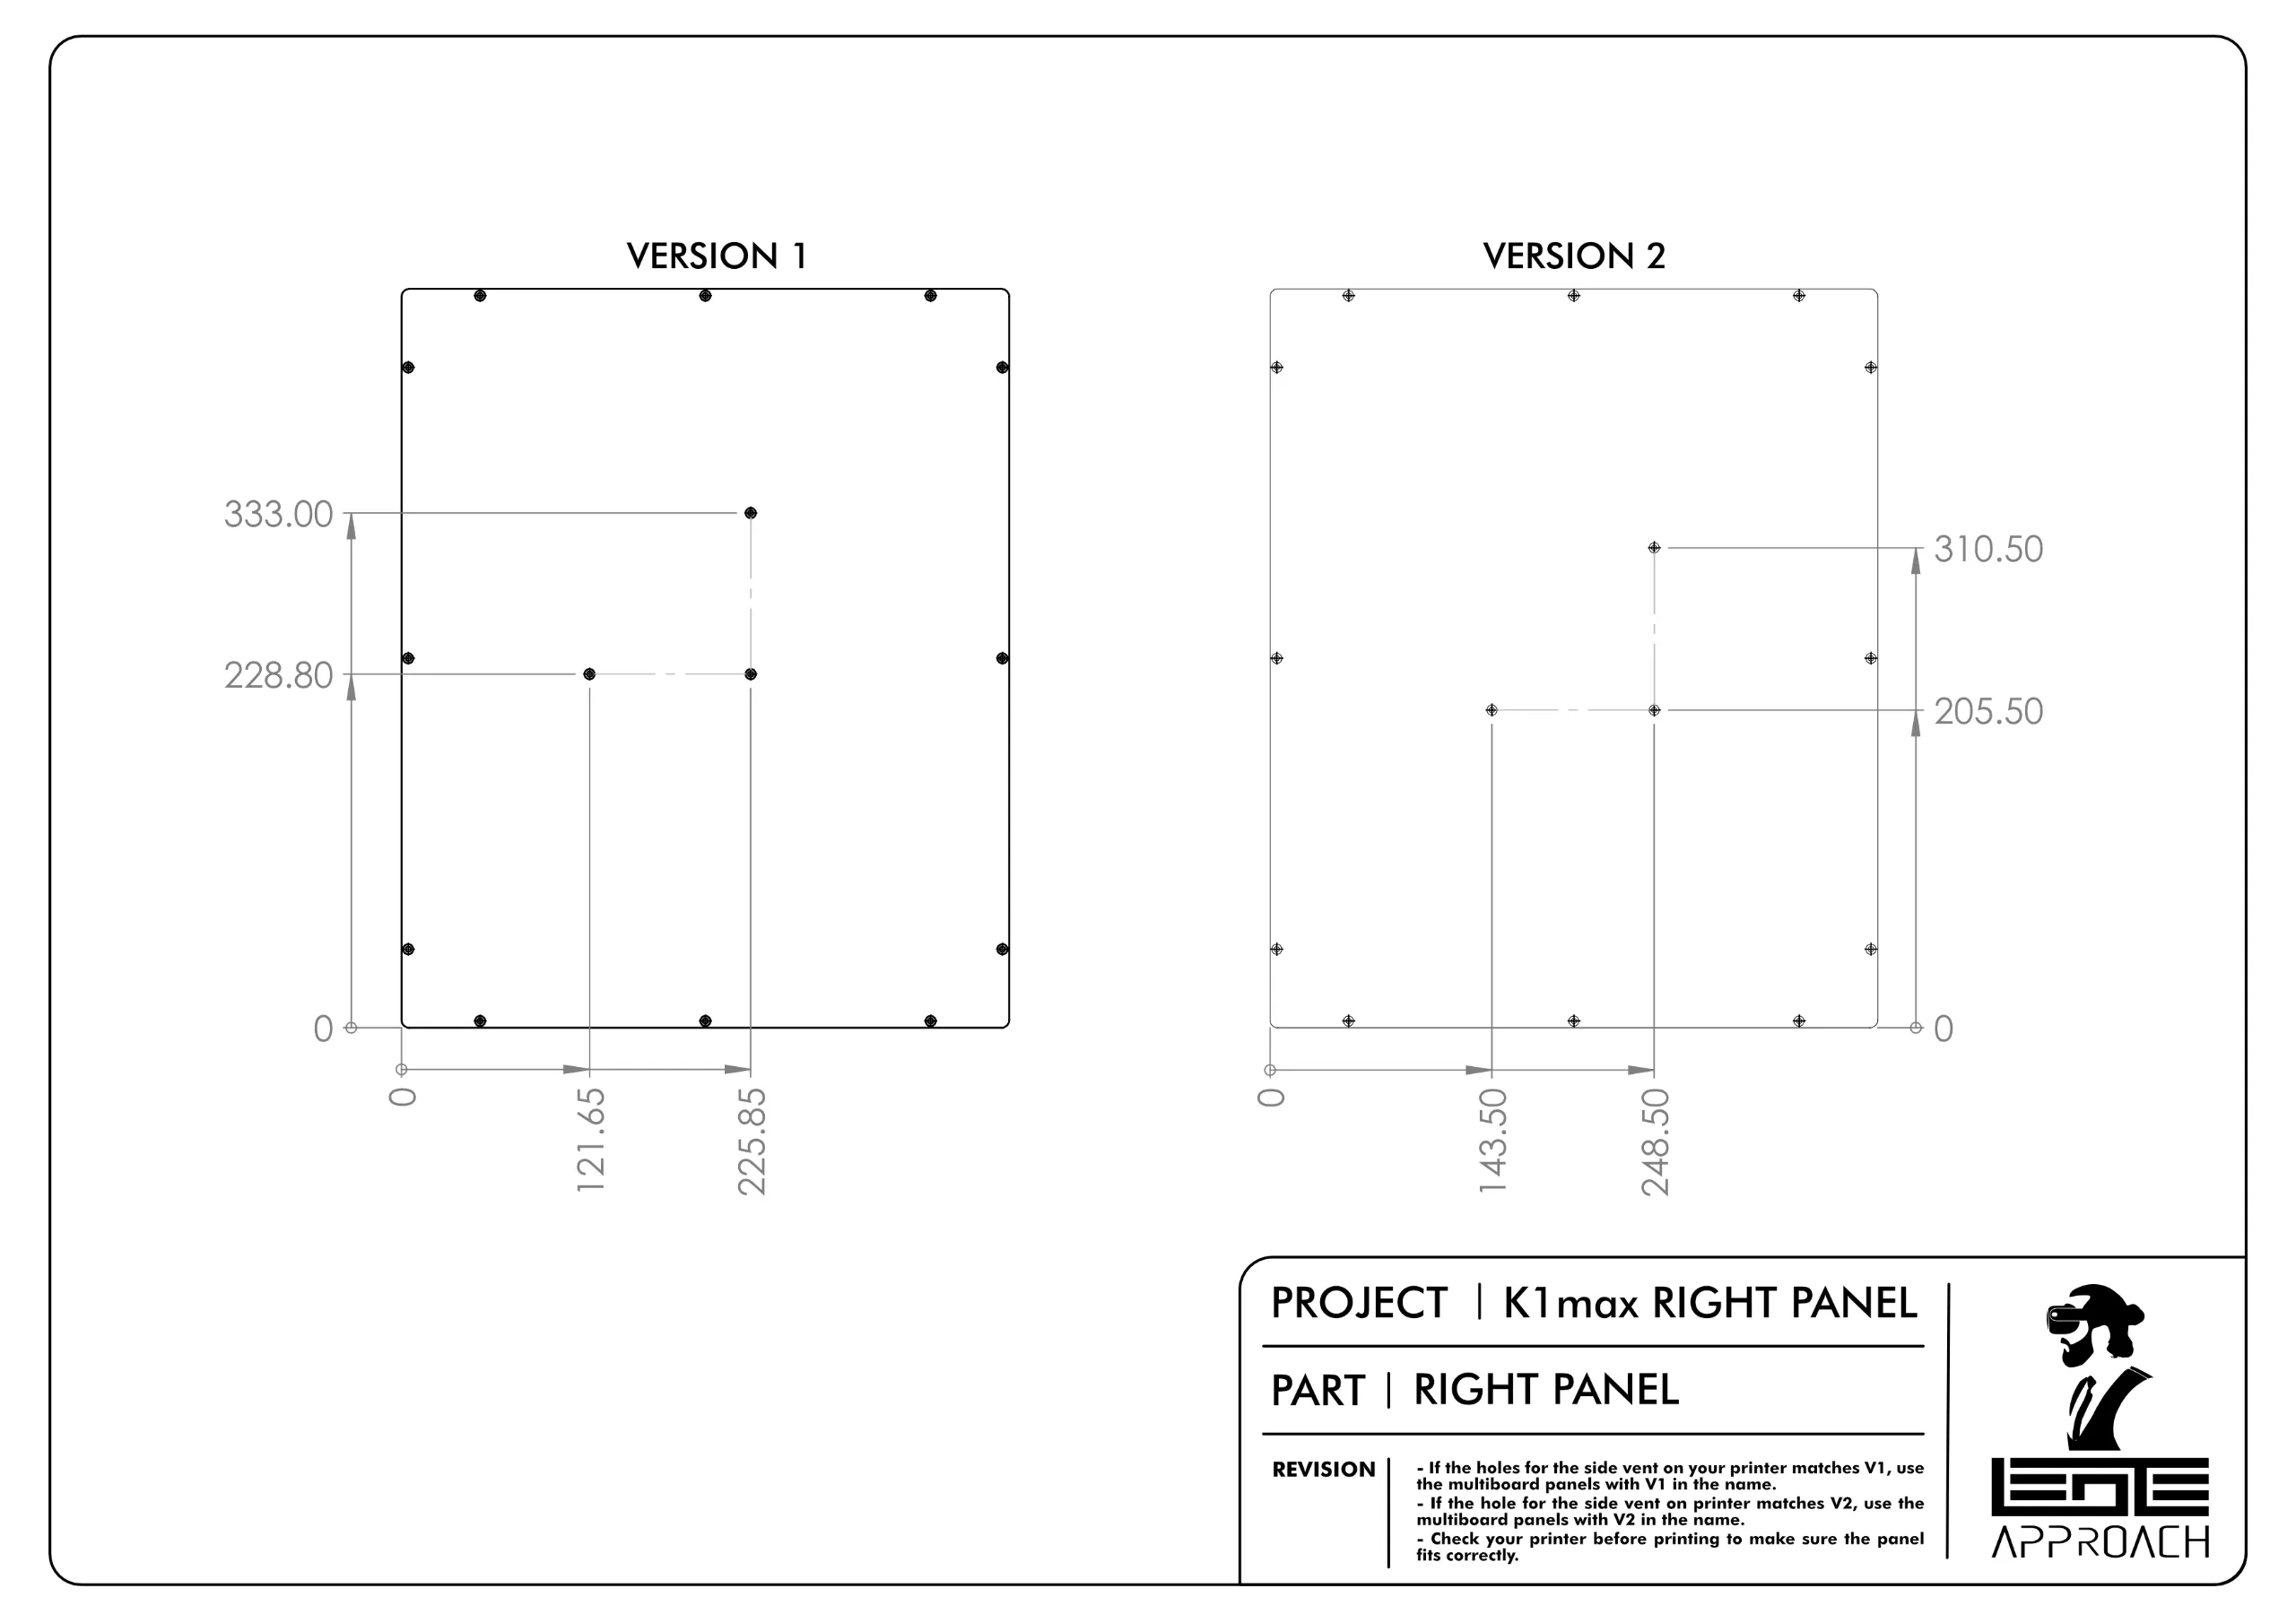
There are two versions of the mounting holes for the side fan on the K1 Max.
Since I cannot confirm if V1 is wrong, both versions are available.
- If the holes for the side vent on your printer matches V1, use the multiboard panels with V1 in the name.
- If the hole for the side vent on printer matches V2, use the multiboard panels with V2 in the name.
*Check your printer before printing to make sure the panel fits correctly.
/////UPDATE 0.1 - 26/05/2025
The R2 and R2 SENSOR and L2 parts had an error and have been updated.
/////ATTENTION - PDF GUIDE AVAILABLE
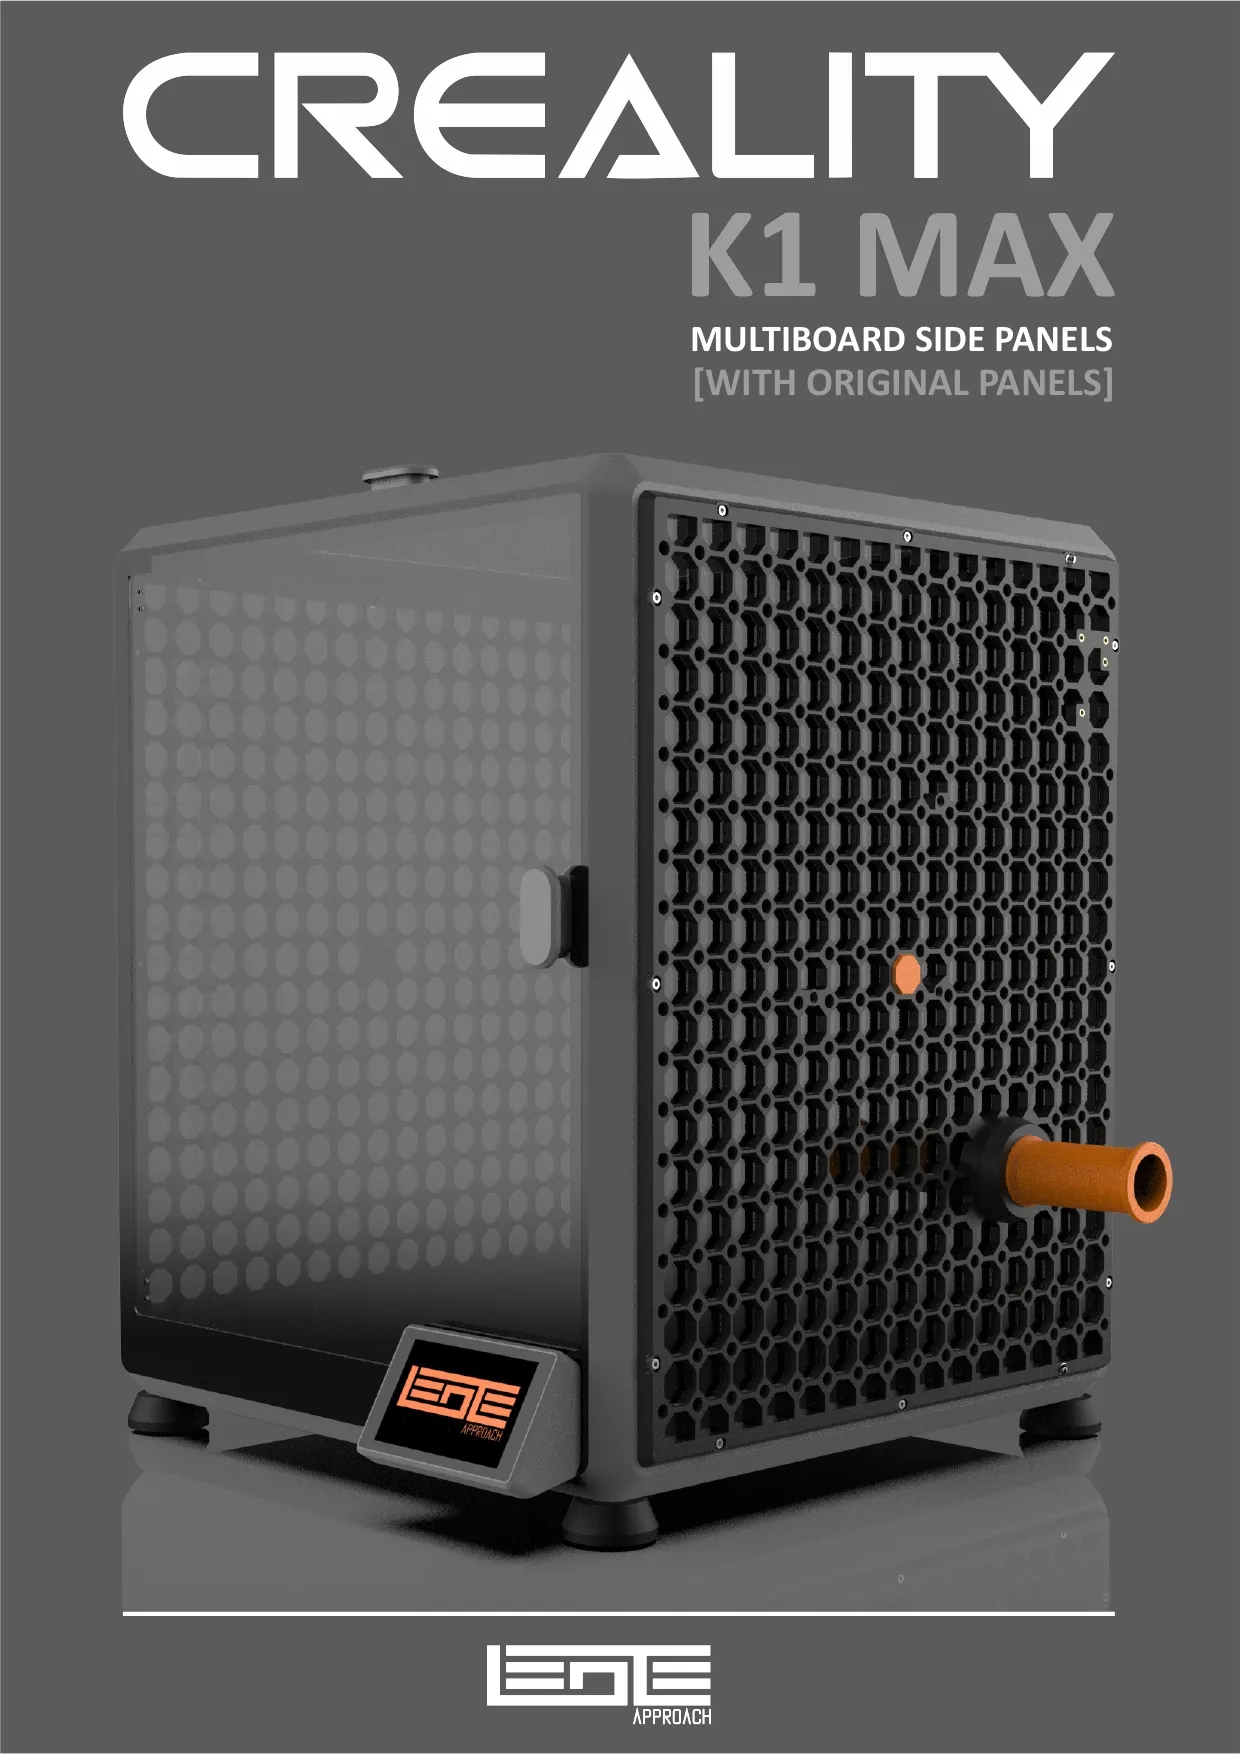
- These PANELS are identical to the MULTIBOARD system, fully compatible with all existing MULTIBOARD components.
- THIS PROJECT IS DESIGNED TO BE USED WITH THE PRINTER'S ORIGINAL SIDE PANELS.
- If you use the version with the sensor repositioning, you need to INSTALL FOUR M3X5MM(L)X4MM INSERTS ON WALL 2 on the left side.
- Make sure the bolts aren't too long. They shouldn't go past the frame's thickness to avoid damaging any internal components.
- The project parts should be PRINTED in ABS or similar materials due to their resistance to high temperatures, ensuring durability and reliability.



💬CrealityCloud Community Comments(...)
★CrealityCloud Original Reviews