
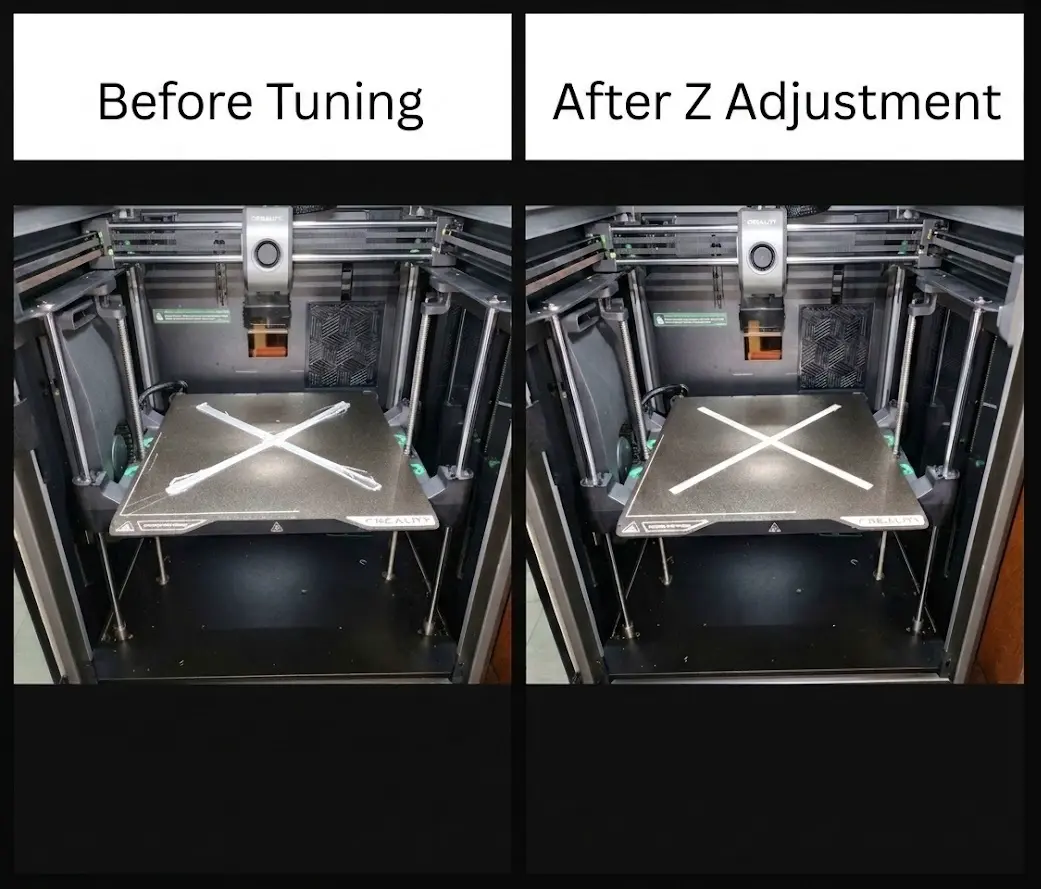
Model Overview & Print Notes
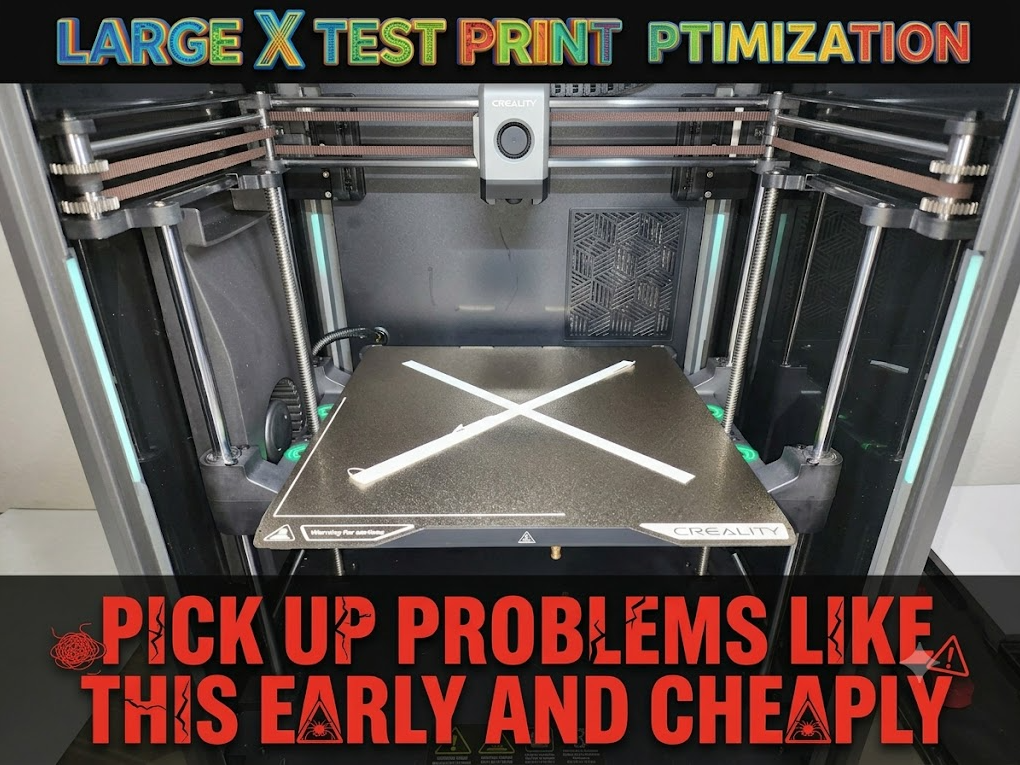
🛠️ Ultimate "X" Test Print: First Layer Optimization 🚀
Achieve the perfect first layer squish and eliminate printing frustrations before they start! This ultra-fast, filament-saving calibration tool is your secret weapon for diagnosing and fixing bed leveling issues in minutes.
💡 Why This Design is a Must-Have:
⏱️ Lightning Fast: Prints in under 3 minutes on high-speed printers like the Creality K2.
🌱 Ultra-Efficient: Uses a mere 1.42g of filament—stop wasting plastic on massive calibration squares!
📐 Fully Customizable: Easily stretchable in your slicer to match any print bed size. (Just remember to only resize the X and Y axes and keep it as a single layer!)
🔍 The Ultimate First-Layer Diagnostic Guide
Don't guess what's wrong with your printer—let the "X" Test Print tell you exactly what to fix. Run this print and use the symptoms below to perfectly tune your machine.
🚫 Symptom 1: Too Far From the Bed (Not Enough Squish)
What you see: * Individual lines look like round cylinders instead of flat ribbons.
Visible gaps or spaces between the printed lines.
The plastic doesn't stick to the build plate and easily drags around or peels off.
⚡ The Solution: Your nozzle needs to be closer. Lower your Z-Offset by adjusting it further into the negative figures (e.g., move from -1.20 to -1.25) until the lines fuse seamlessly.
💥 Symptom 2: Too Close to the Bed (Too Much Squish)
What you see:
The surface of the "X" feels rough, ridged, or looks like it has "plowed" waves.
The filament looks incredibly thin, translucent, or has holes where the nozzle dragged through it.
You hear the extruder clicking because it's struggling to push filament out against the bed.
⚡ The Solution: Your nozzle is choking. Raise your Z-Offset by adjusting it less into the negative figures (e.g., move from -1.25 to -1.22) to give the filament room to flow.
⚖️ Symptom 3: Uneven Bed Leveling (The "Tricky Corner")
What you see:
The center looks flawless, but one or two outer tips of the "X" are either lifting (too far) or completely transparent/rough (too close).
⚡ The Solution: Your bed's automatic leveling needs a physical helper hand. This means that particular corner/spring is too far out of spec for Auto-Bed Leveling (ABL) to compensate. Adjust that specific corner bed knob using the paper routine, or check your bed visualizer mesh.
🛠️ How to Use This Model for Peak Performance
🏎️ Method 1: The Quick Post-Print Check
Hit print, let it finish its 3-minute run, and carefully remove the "X".
Hold it up to the light. Look for gaps, rough textures, or uneven thickness across the four legs.
Make your mechanical or Z-offset adjustments, and re-run to confirm the fix!
🔄 Method 2: Live Tuning (Expert Mode)
Keep your eyes on the nozzle as the printer executes the "X" path.
Go into your printer's menu and make live, ultra-small Z-offset adjustments (intervals of 0.01mm to 0.02mm) as it lays down plastic.
Watch the transformation in real-time until the layer goes from patchy to absolutely flawless!
⬇️ Download now, level up your first layer game, and save yourself hours of failed prints!

💬CrealityCloud Community Comments(...)
★CrealityCloud Original Reviews