
Model Overview & Print Notes
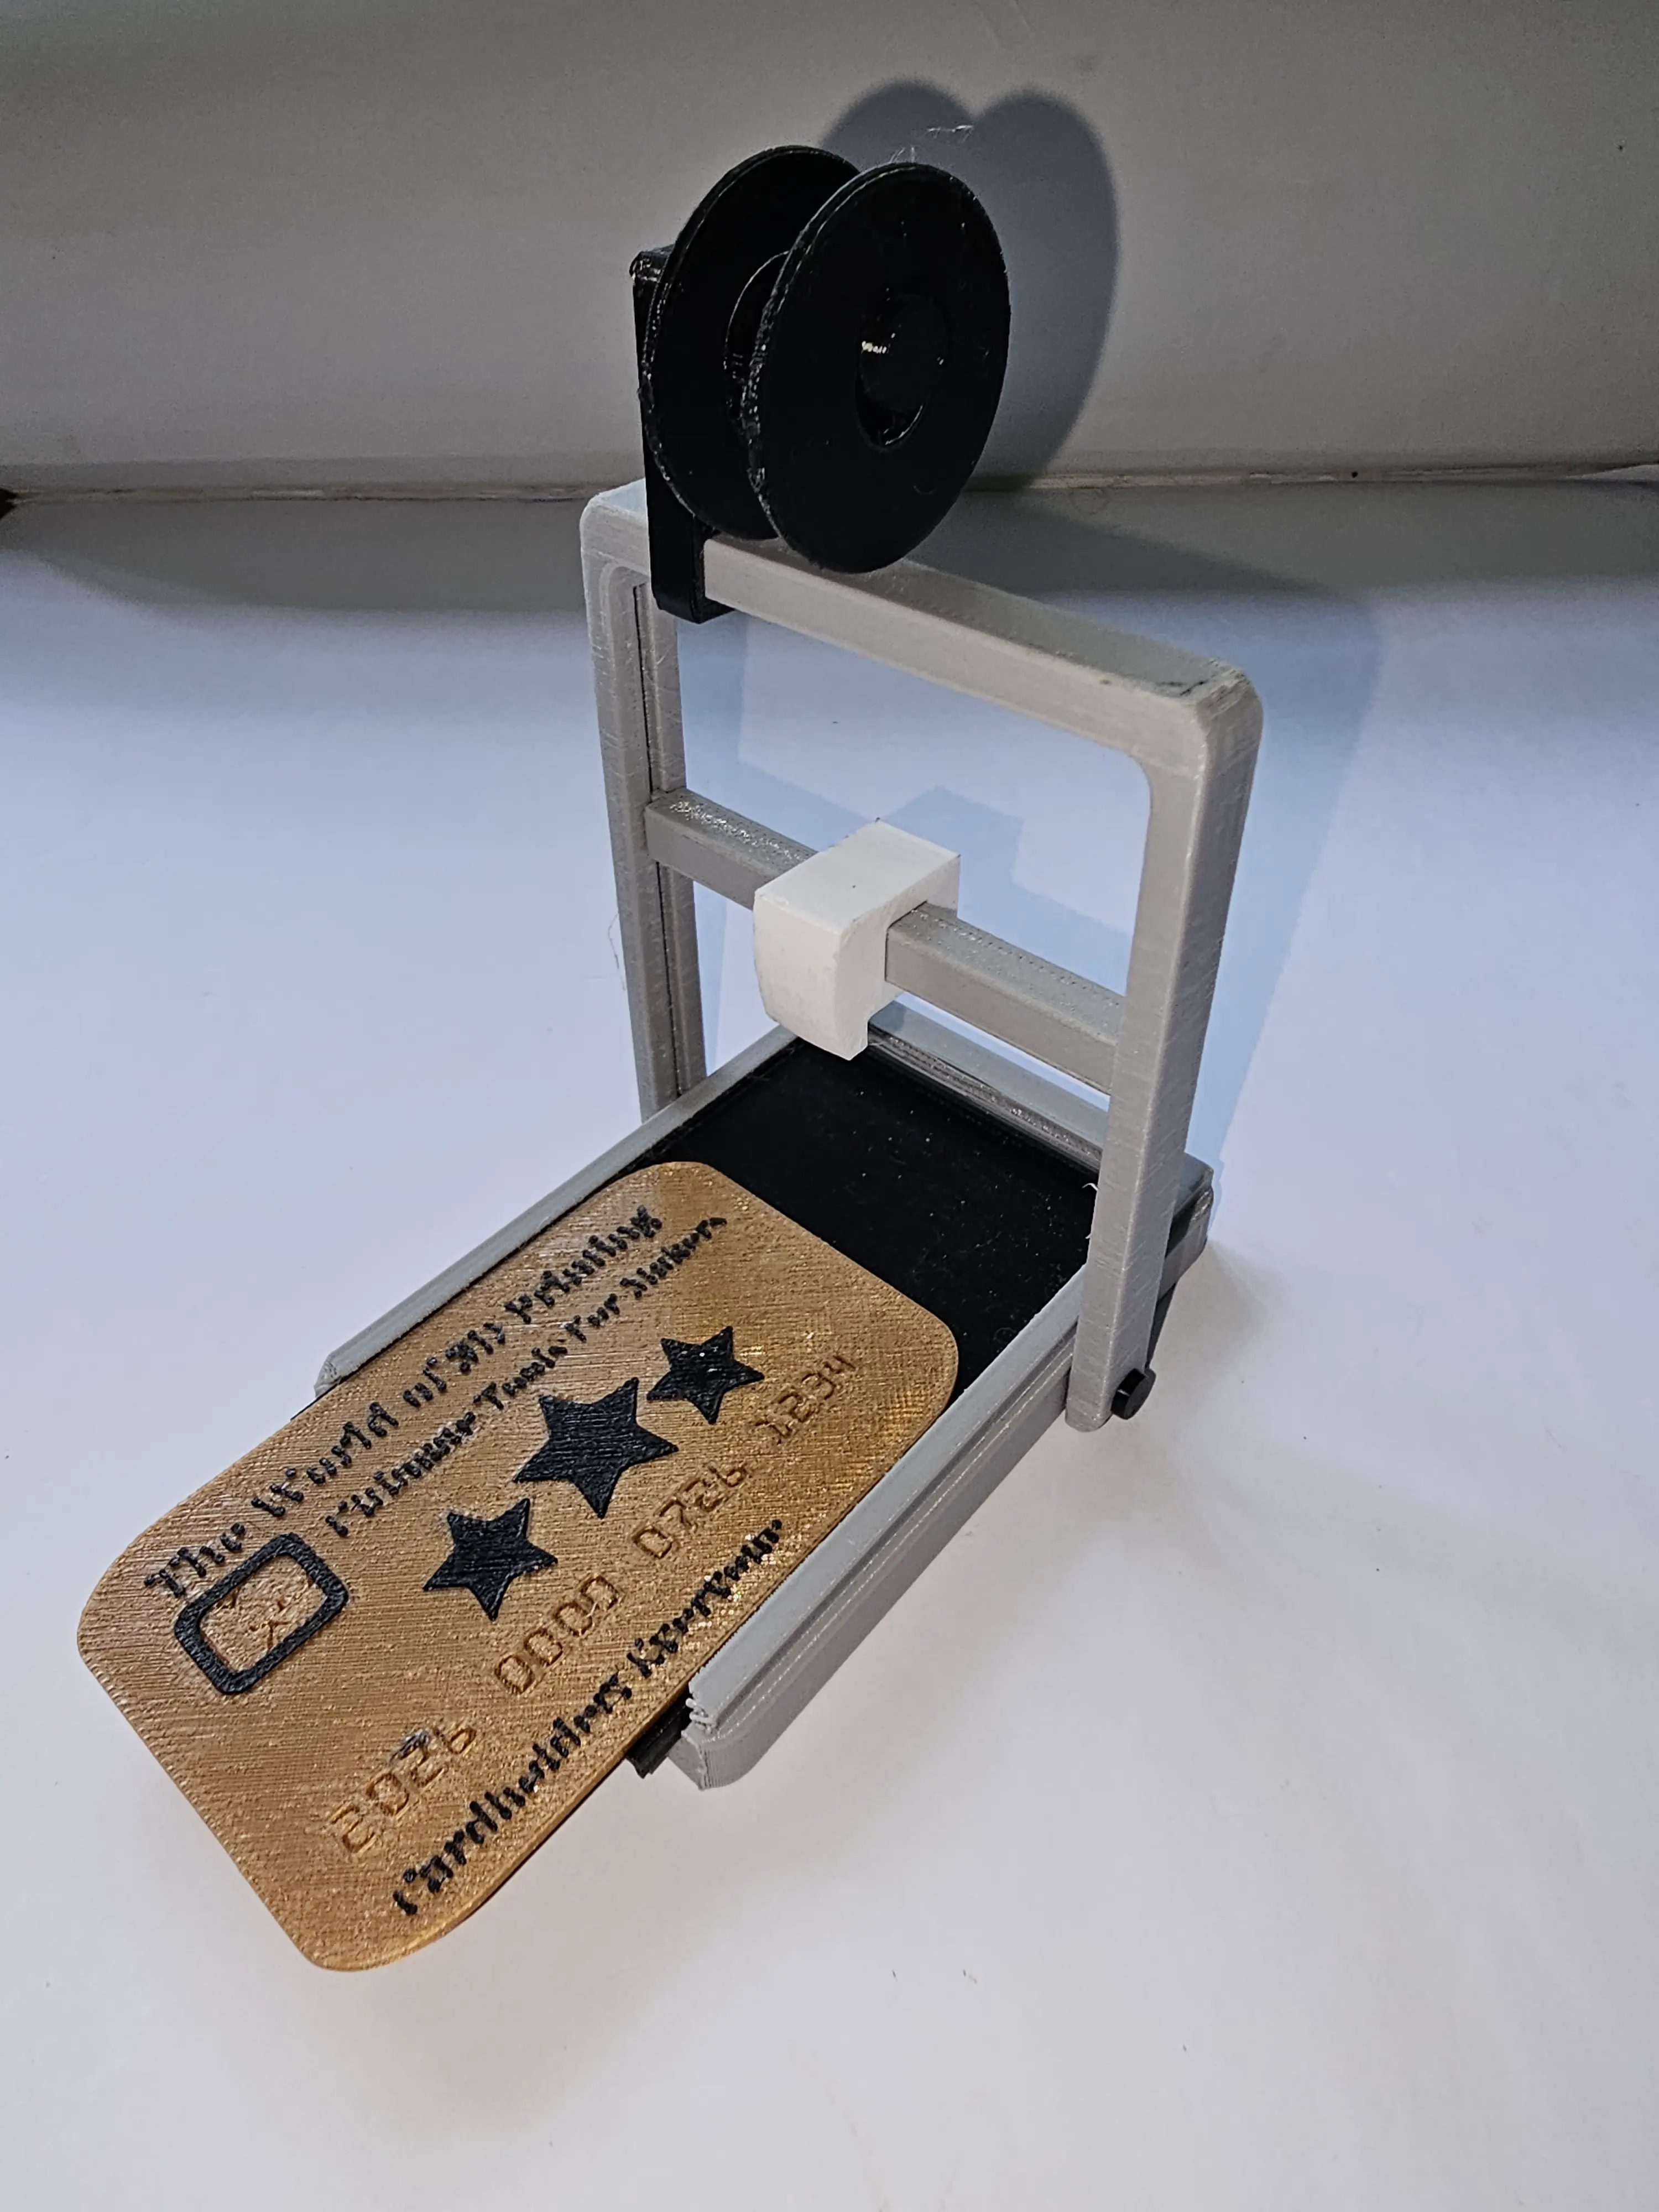
Mini 3D printer Credit Card Wand and Widget
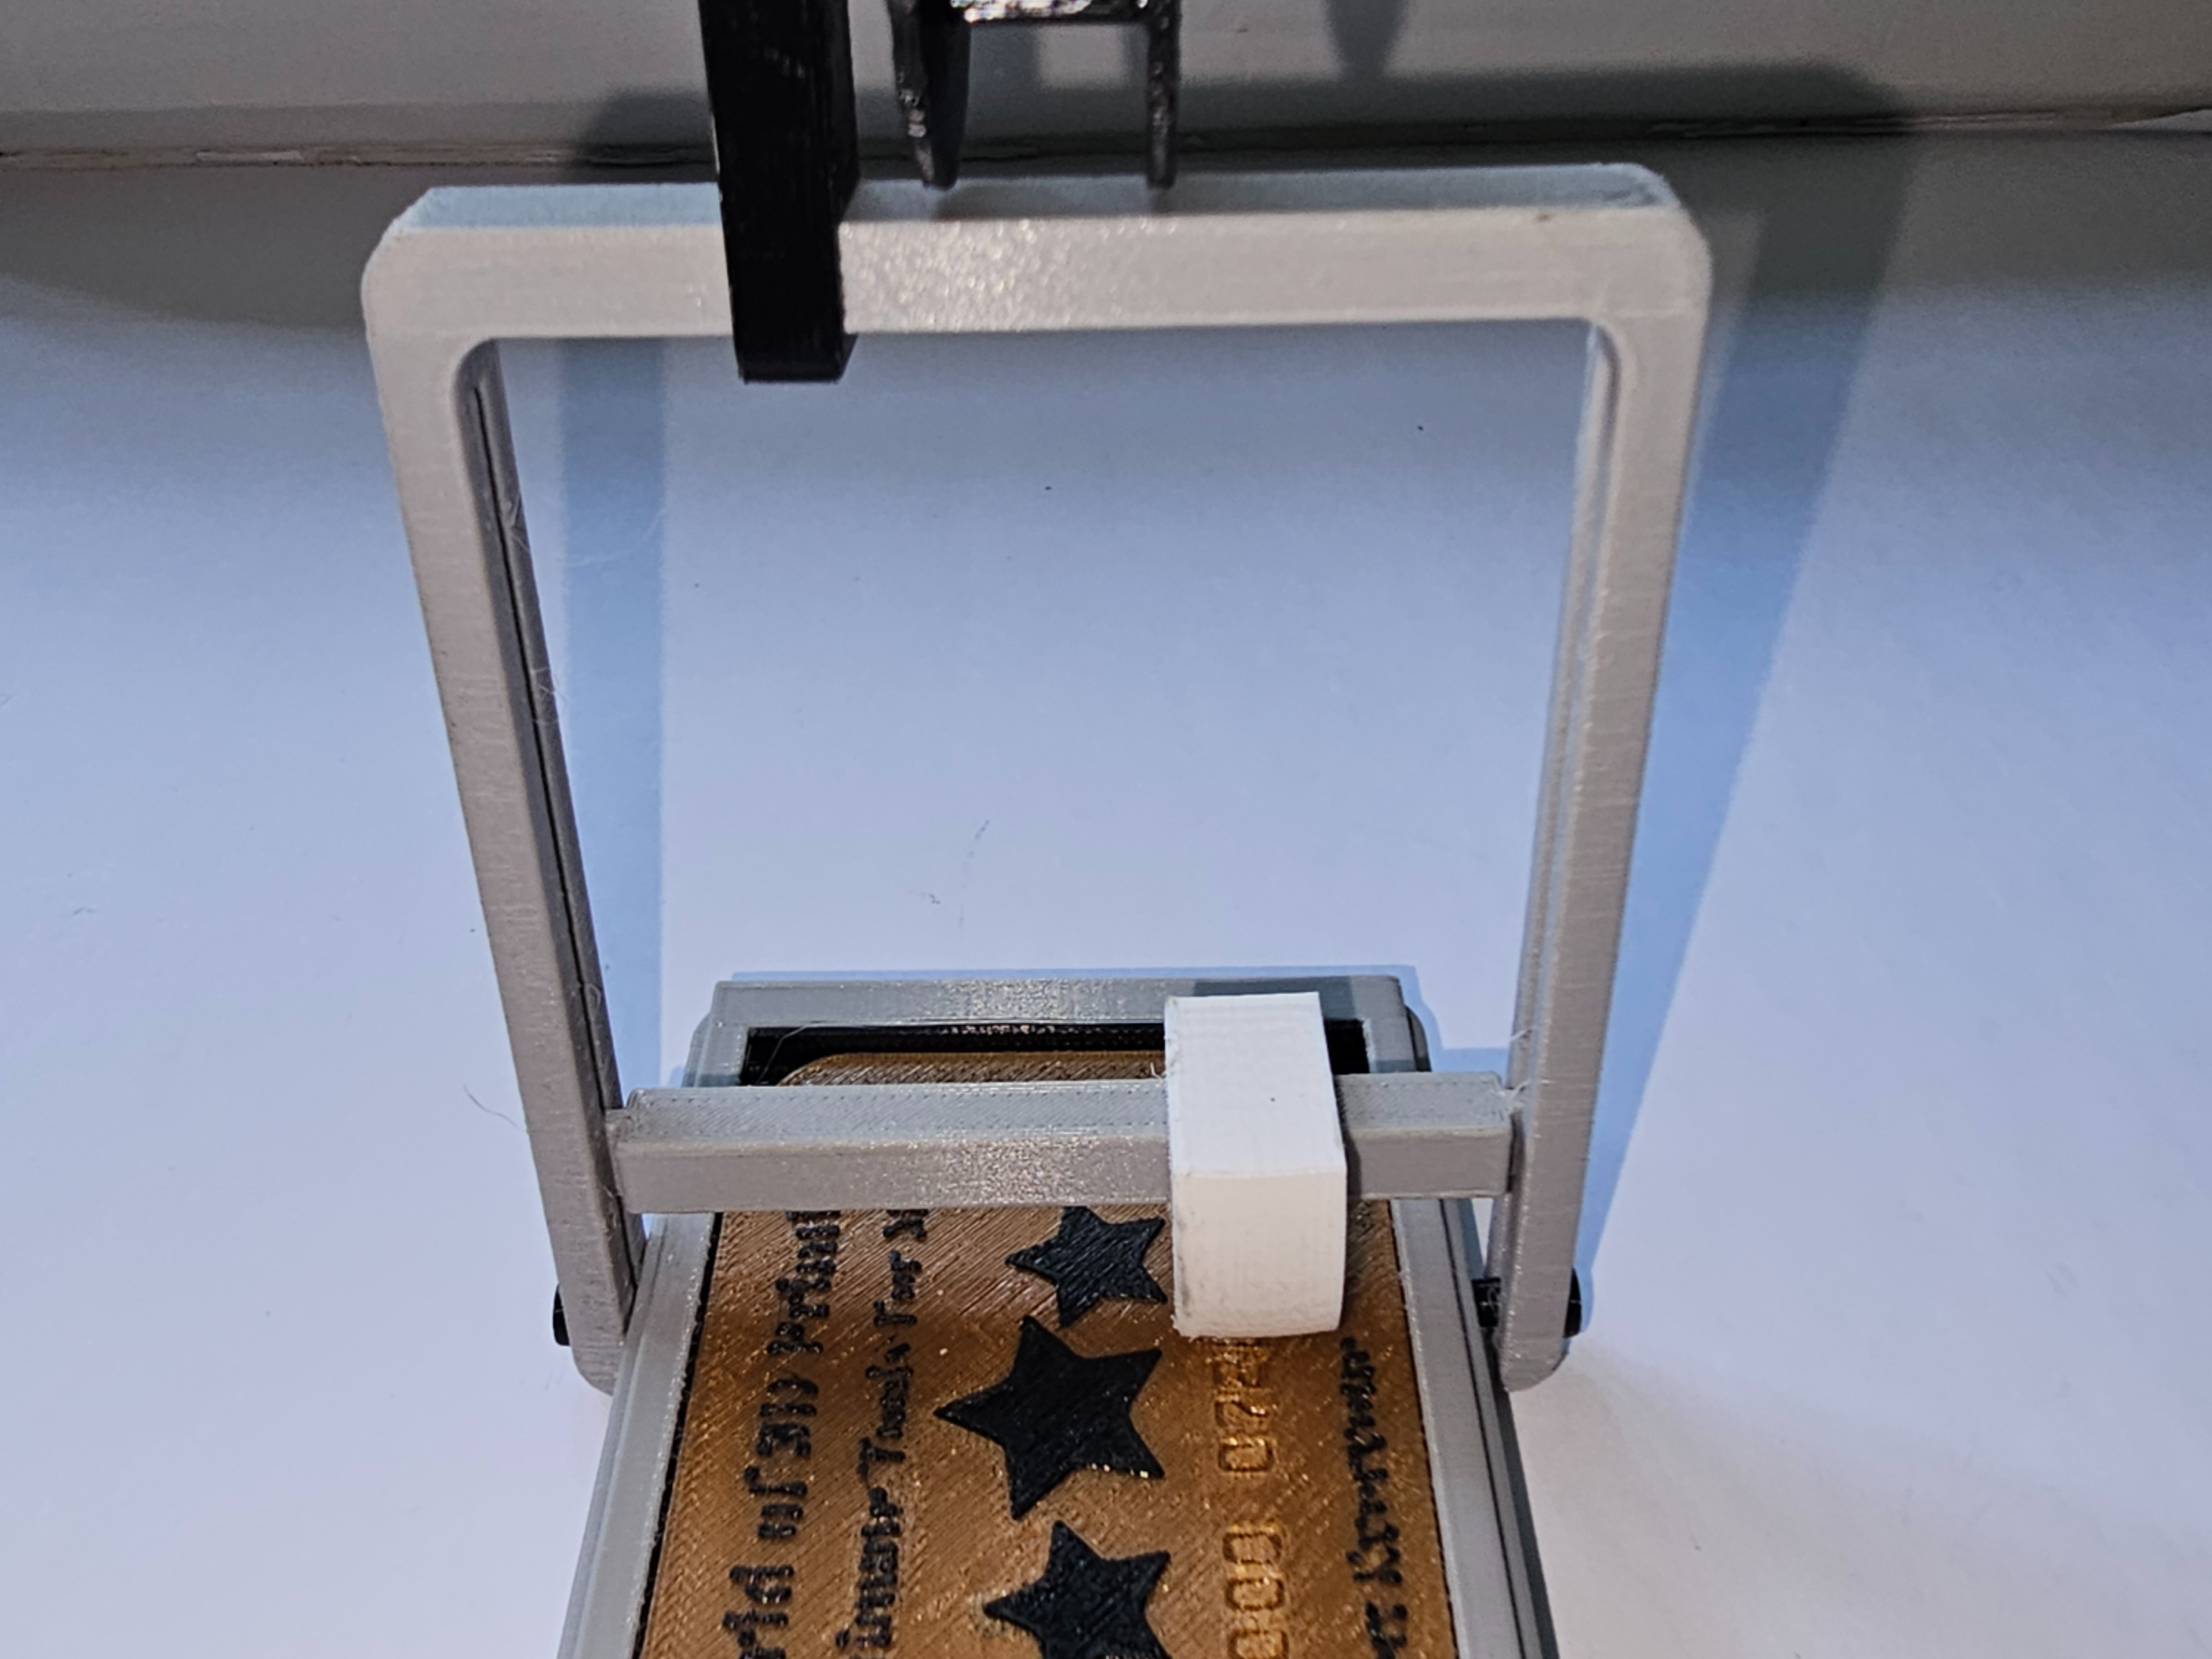
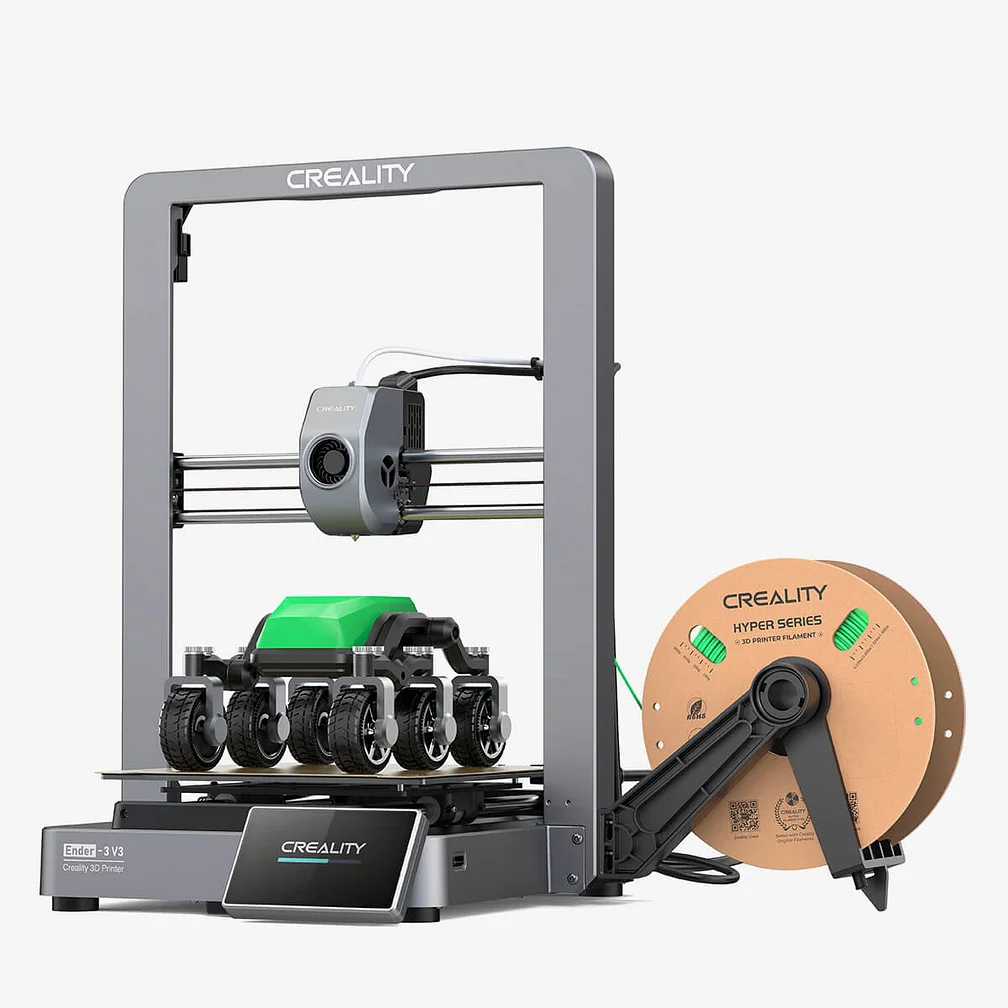
I was reading about the credit card wand contest in front of my Creality Hi waiting to make sure a large flat object was adhering to the plate properly. I looked at my printer and thought immediately I could make a wand out of that. If you have assembled a Hi (my other printers were the same) straight out of the box, you know you have to insert the Y axis upright into the base. In the box it is lying down. I thought I could make it widget-like fun. I put all these ideas together creating a folding up and down Z axis upright, sliding filament spool, mini spool, sliding Y axis bed and sliding X axis print head. Since I did not want to use a real credit card I created a card representing what 3D printers have done for makers. I also wanted to test out all four colors on my CFS. I selected black for the bed, gray for most of the printer, white for the print head (because that is the white knight of 3D printing) and gold for the credit card.
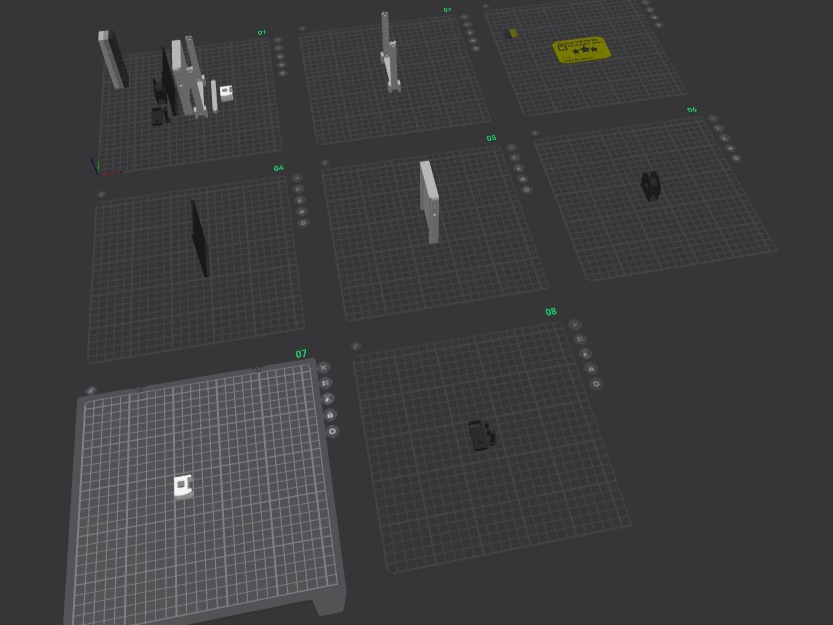
This was my first four-color print using my CFS. I did not optimize anything and for this small build having everything on the same plate it took over 20 hours to print. The purge box I made overflowed with waste. Since I try to be environmentally friendly as much as possible, I decided I would instead create separate plates for each color except on the credit card which needed both black for the print and gold for the card. I made sure the black and gold were only combined in a couple of layers to minimize the waste. The .3mf print file reflects this as there are a lot of plates. If you would prefer to create a single .3mf the individual .stls are also included.
There are a couple of things to watch during the print. You will notice the printed parts are mostly upright to minimize supports. For the Y axis upright I included my own supports for the very bottom as no matter what I did I could not get the slicer to create the supports I wanted. I created a custom support for the mini roll of filament. For the Z Axis bar with the print head since I tried to match the dimensions for a regular size printer. However, there was not a lot I could do. I highly recommend for the Z Axis upright you should wait to remove from the print bed until the plastic is cool. This is so the upright does not bow out when making the print head bar have too much play.

💬CrealityCloud Community Comments(...)
★CrealityCloud Original Reviews