
Model Overview & Print Notes
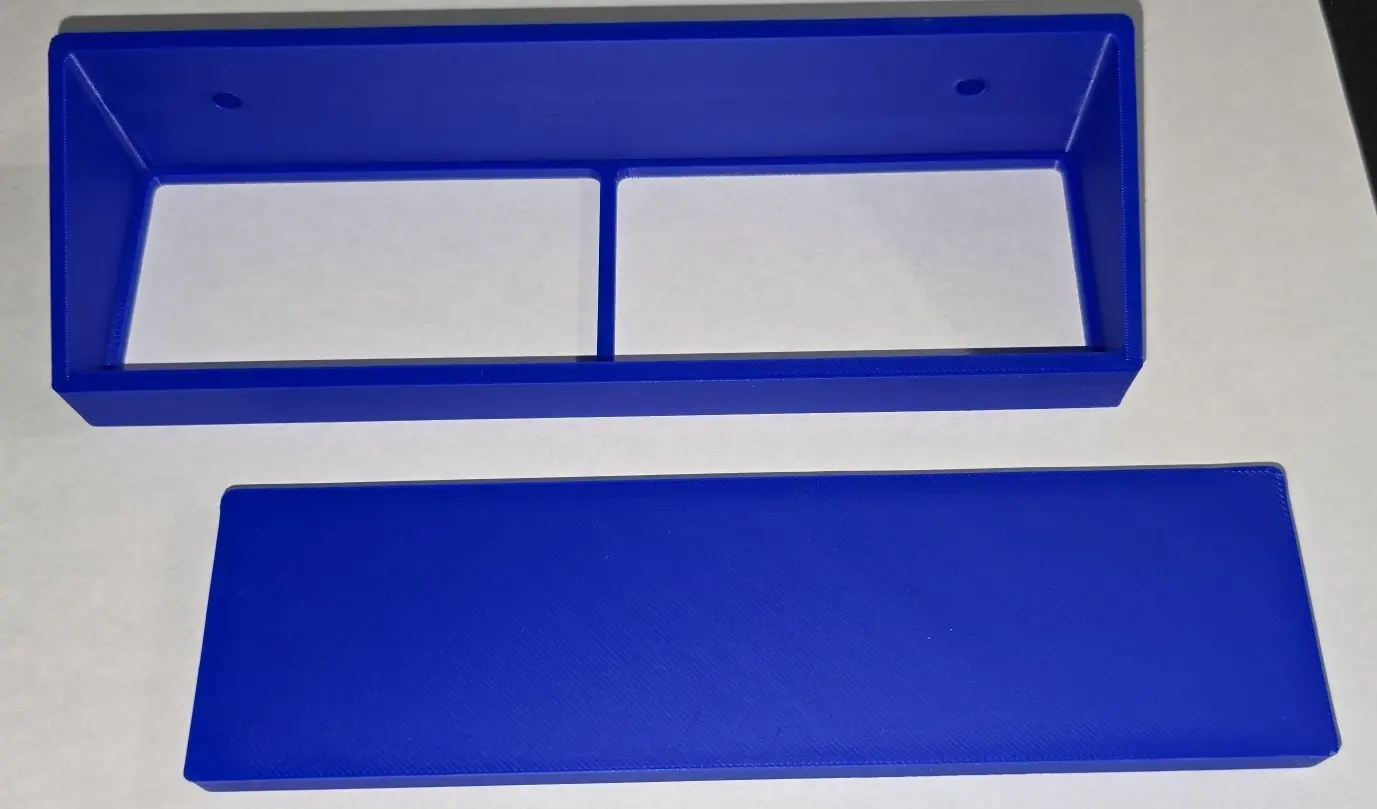
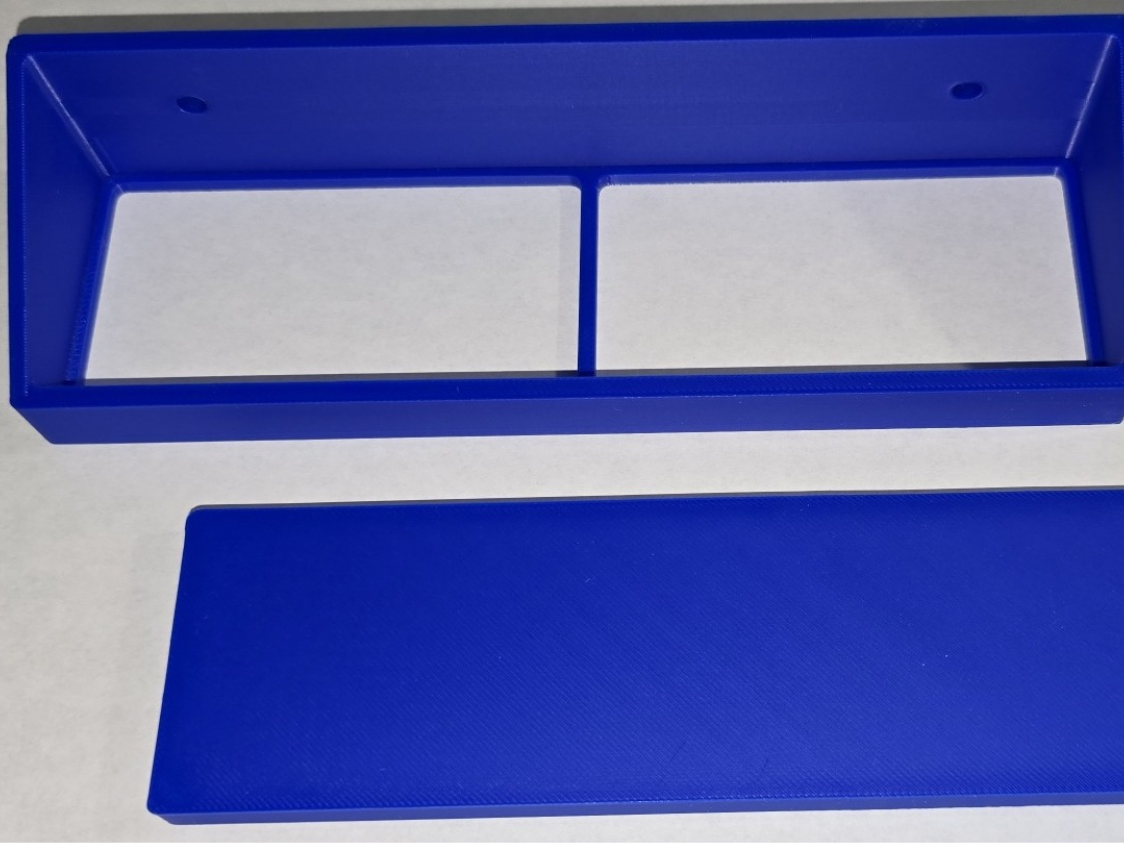
This is a newer version - V3 (don't ask about V2, we don't talk about V2...) of my tool holders. I wanted to make it "kind of" modular, but not really. Weird, I know. Anyway, I got kind of tired of reprinting the entire shelf/bracket any time I wanted to add, modify, or change tools I purchased and used. So... I made a frame without a floor/base. The frame is what gets mounted. I then created a simple blank base that was 173.6 mm x 47.6 mm x 8 mm thick. The corners are filleted to 2 mm. (I also did a small 0.5mm fillet on the top and bottom edges, but that's not as critical as the other dimensions for fitment.)
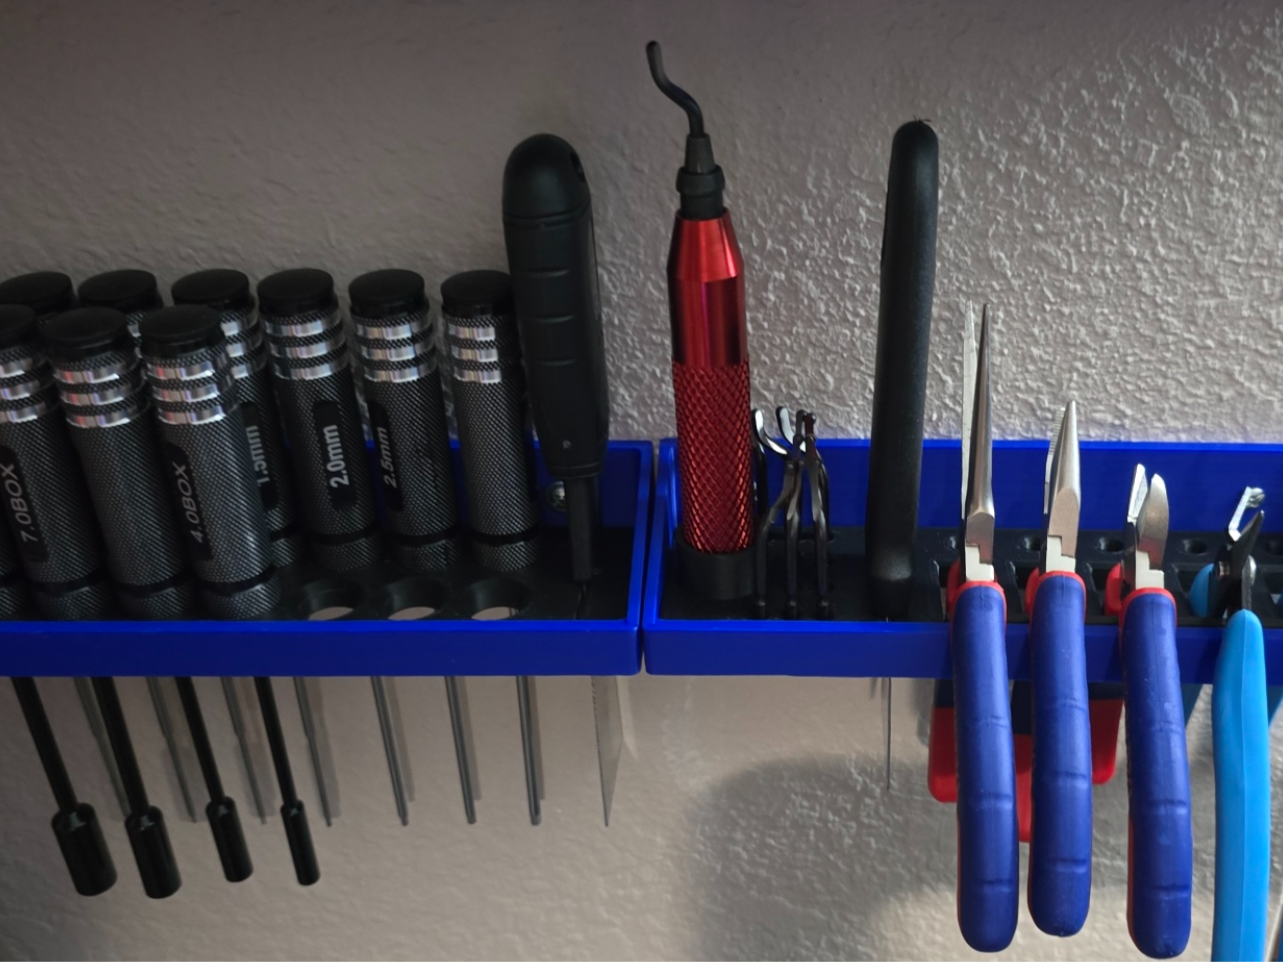
The base fits / drops into the frame with a pretty easy fit (not interference), though it depends on your printing parameters and post-processing. If you have heavy elephant's foot, you may have to shave/sand a bit. The reason I am providing the specific dimensions is so users can create their own custom holes/openings for tools. I have also uploaded 5 of my own - 1 of which is the blank base that I use as a shelf basically. See pics.
Slicing parameters I used:
FRAME:
Hyper PLA
0.4 nozzle, 0.2 layer, 220 deg / 60 deg, 3 wall loops, 25% infill, Gyroid, Outer and inner Brim, 4 top / 3 bot layers.
On my Ender 3 V3 Plus it's about a 53-minute print. Incidentally, if you want to make it stronger, you can actually do 5 or 6 walls which will make it essentially solid for only about an 8-10 minute increase. Can also just leave at 3 and choose 100% infill.
BASE INSERTS
Basically the same settings listed above in the first line. Just remember to choose OUTSIDE brim only! Removing internal brims will suck.
If someone needs something custom or a simple change, let me know and I can try to accommodate. Otherwise, just use the blank measurements and a simple CAD program.
Almost forgot - you can just leave the inserts sitting in the frame OR you can glue them. If it's too loose you may need to glue as removing a tight tool may lift the base. I tried to do a small retainer bump on the inside of the frame but there was too much variance in prints to get it to snap in the way I liked. I may keep working on that mod though. Personally, I would glue them in. NOTE - for the plate I made that holds the deburrer - don't glue it in before mounting on the wall! I mistakenly placed the mounting hole kinda behind that so it will be hard to access if you glue in the base first.
Hope these work. Let me know if there is an issue with the 3mf's.
One more note - for the frame, I printed it as pictured - in the orientation you would mount it. I know it's not ideal as far as strength and you can try to print it on its small edge/side to optimize strength based on layer orientation, but I have not tried that and it will definitely take longer and may cause fitment issues with the base. I really don't think strength will be an issue.


💬CrealityCloud Community Comments(...)
★CrealityCloud Original Reviews