
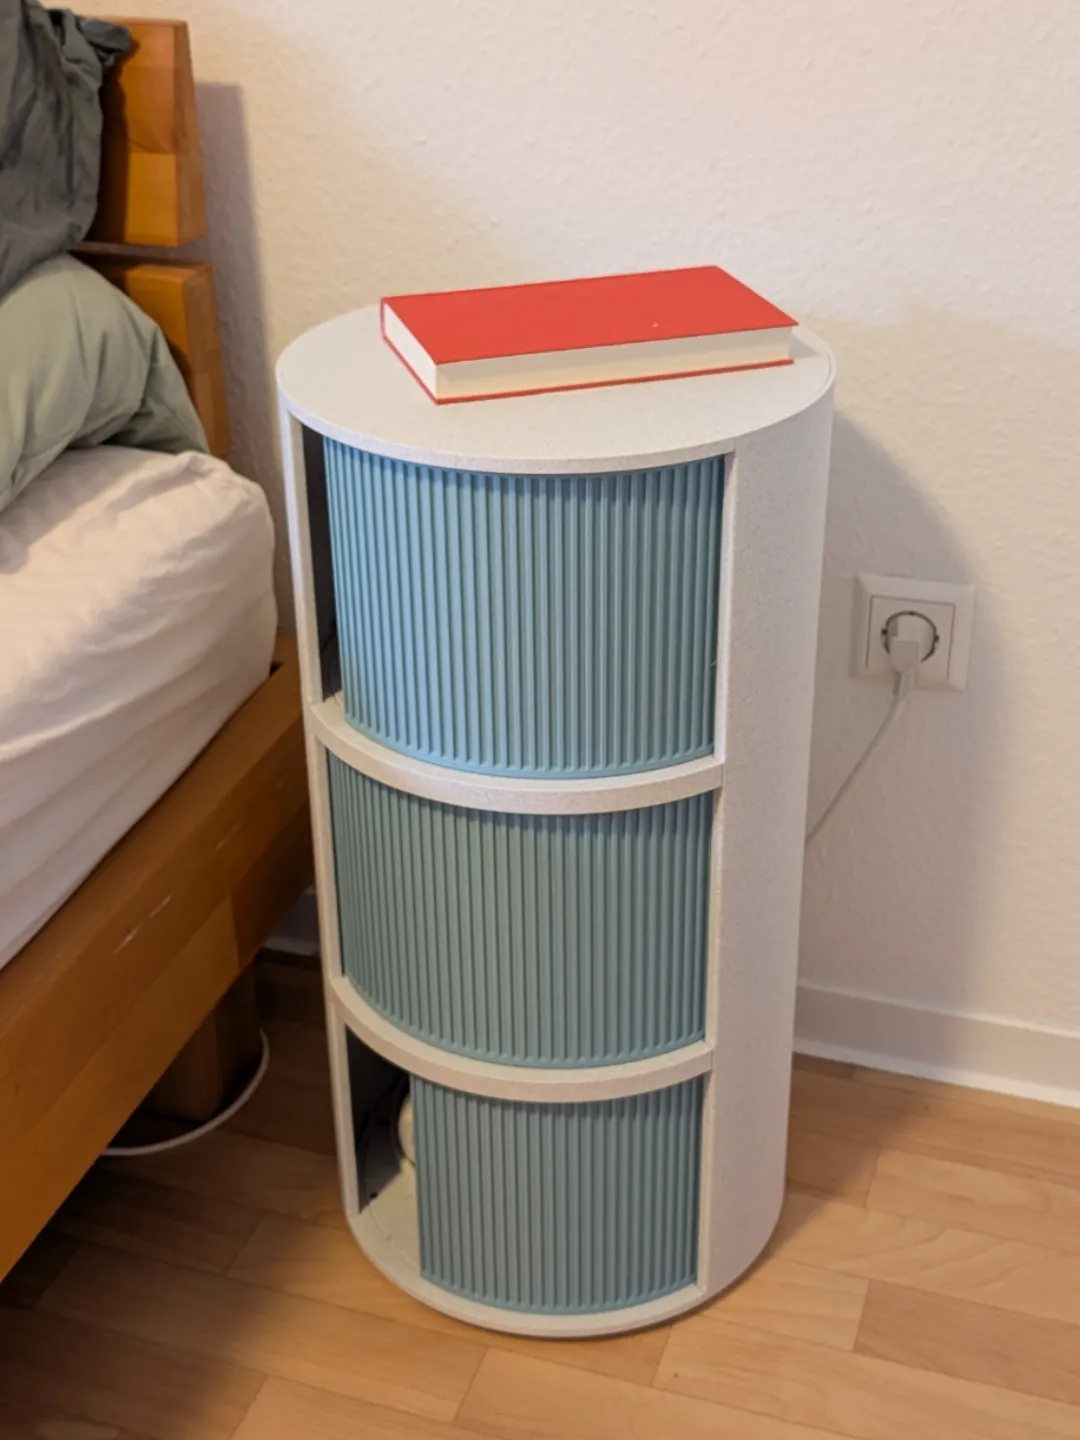
Model Overview & Print Notes
Assembly instructions at the very bottom!
Updates:
- .stl files added for large printers (H2D, etc.). The floor plates/floors can thus be printed as a continuous part if the print bed is large enough. Here is a new model with the additional parts for large printers: https://makerworld.com/de/models/3151124-floor-plates-for-nightstand-1-part-for-big-printer#profileId-3559499 (per level, you save 9x M3 nuts + M3x10 flat/countersunk screw and skip step 1)
- Openings for cable routing in the bottom plates opened to the back to facilitate subsequent changes
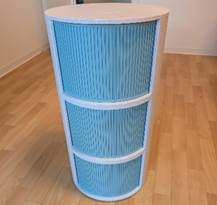
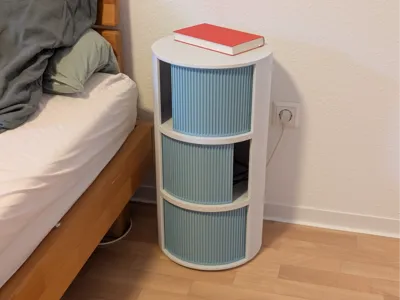
I designed this nightstand, which you can completely 3D print yourself, except for a few screws
The doors can be slid open in both directions and run in a guide
The parts are divided so that they can be printed on a 256x256x256 print bed. When assembled, the nightstand has an outer diameter of 318mm. The parts can be connected with screws, and the cabinet can be assembled in this way. The elements are stackable, and you can build just 2 levels or more
Inside and on the back there are openings for guiding cables, or for attaching mounts (not yet designed)
In the uploaded version, I have already made changes to my assembled version: The cable channels have been made larger so that multiple cables can be routed through more easily
The entire nightstand with 3 levels uses approximately 2.5kg of material
Required screws / nuts and quantities:
- M3x4 mm countersunk head ISO 10642 (M3x5mm might work better but not tested) - 36x
- M3x8 mm countersunk head - 6x
- M3x10 mm countersunk head - 12x
- M3x16 mm countersunk head - 6x
- Pan head/flat head M3 screws, at least 10mm thread (countersunk head probably also works) - 42x
- Square nut M3 flat (!!) DIN 562 - 54x
- Hex nut M3 - 48x
Please note:
- depending on the material you print this cabinet with, it should not be exposed to strong sunlight to prevent deformation
- this is the first version of the model. The assembly worked quite well for me, but depending on print quality and tolerances, you might need to improvise a bit with the screws. However, I had no problems assembling the cabinet functionally
- I have added brim ears in several places in the model for improved print bed adhesion. These are not strictly necessary and can be removed if you trust your printer/filament
If anyone has suggestions for improvements, feel free to write to me. The following ideas are already noted for future models:
- Inductive charging: Cut-out/mount in the top level to install an adapter for inductive charging
- Version for large prints: the levels could theoretically be printed as one piece on large printers. The corresponding model still needs to be added. (done)
- Different surface designs for the door or body
- Detailed assembly instructions (done)
For questions or suggestions for improvement, feel free to write to me!
Instructions:
(first version, I'll try to make a nicer guide at some point, but this one should suffice for now)
Connect all bottom parts (left, right, front, and center (for Bottom, only p1 each)) – using M3x10(+) flat head/pan head screws and M3 hex nuts
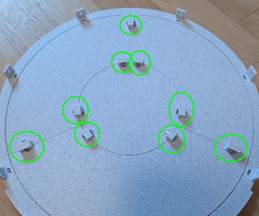
- Attach all connectors to the floor surfaces:
Bottom Floor: Place Floor_Bottom_left_p2, Floor_Bottom_right_p2, and Floor_Bottom_front_p2. Then insert 6x Connection_Bottom into the corresponding recesses, place M3 hex nuts into Connection_Bottom from below, and fix from above with M3x16 countersunk screws. If desired, felt pads (d=25mm) can be glued into the 4 recesses on the bottom
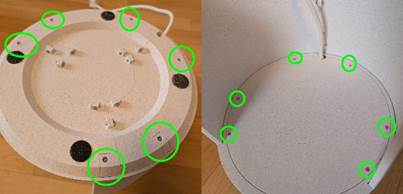
Top floor: Insert M3 square nuts (flat) into the 6 recesses. Then connect 6x Connection_Top_wall from the side with M3x8 countersunk screws
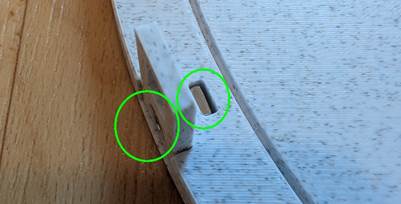
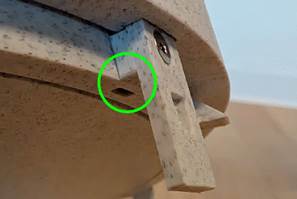
Floor 1/ any other level: same procedure as for the top floor, but with the part Connection_Wall on the sides. Pay attention to orientation! The connector must be oriented with a flat bottom side (as in the picture). Otherwise, the walls cannot be mounted
- Walls:
Place M3 flat square nuts from the outside into the recesses of the connectors (if necessary, fix with a small piece of adhesive tape) and then place the walls from above (make sure the correct wall (top/mid/bottom) is chosen). Then screw it tight from the inside with M3x4. (If the screw does not grip, you can either carefully apply pressure to the nut through the wall, or place something behind the nut to push it towards the screw. Alternatively, M3x5 screws could be used, these might push through the wall a bit, so be careful when tightening!)
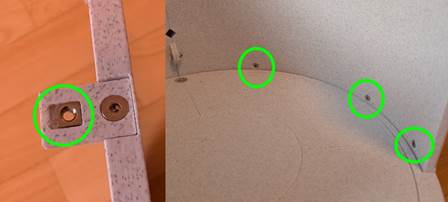
Once both walls are placed (and cables have been routed through the recess if needed), they can be connected at the back with M3 hex nuts and M3x10+ flat head screws
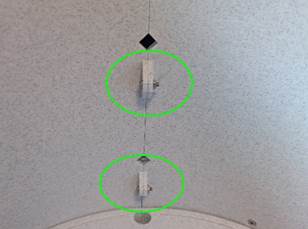
- Prepare doors:
Insert 8x Slider_insert into the respective recesses of the doors
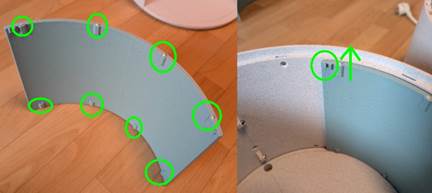
- Insert doors onto the respective lower rail. Pay attention to the orientation as shown in the pictures
- Assembly:
You should now have these elements:
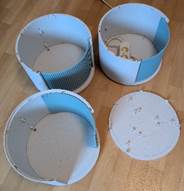
- Stack elements from bottom to top. Make sure that the door sliders engage with the rail.
- If the doors do not open and close properly, the Slider_inserts must be exchanged. Then scale the inserts in the slicer to make them longer/shorter and try again
If needed, you can also fix the elements to each other (as with the walls, but on the top side. (I did not do this, as everything was already stable enough. You just have to be careful when carrying/moving it, so that not everything is firmly assembled)
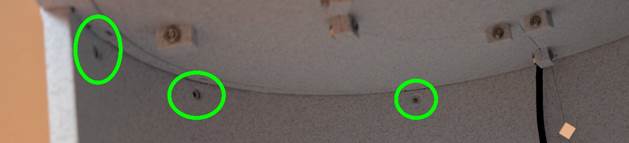
Finished! If you have any problems, please contact me, I will try to help quickly!




💬MakerWorld Community Comments(83)
★MakerWorld Original Reviews