

Model Overview & Print Notes
Summary
Completely 3D printed slim bank card wallet with cards’ ejection feature.
Printer: Prusa i3 mk3
Filaments: Prusament PLA black & orange
Resolution: 150um for all parts.
Printing time: ~8hrs
Printing settings:
- Frame: 30-50% infill, Supports from the bed,
- Everything else 100% infill, Supports everywhere.
Side latches are glued on the frame (inside), to hold the cards in place.
Print Settings
Printer Brand:
Prusa
Printer:
i3 MK3
Supports:
Yes
Resolution:
150um
Infill:
30-100%
Notes:
Dear colleagues it is wonderful to see how many of you like this wallet. I am receiving photos of your wallets every week, thank you!
Although, I can see that some of you are struggling with assembling all printed parts into the functional wallet.
I hope you will find these few words as helpful advice.
Inserting the ejector into the wallet frame:
Use pliers or similar tool to sligtly bend the sides of the frame to be able to press in the ejector.
Be patient otherwise is it possible to break the parts.Latching parts fixing in place:
In my case I am using both of them and they are not even glued to the frame. When the cards are inserted, they are holding the latches in place and other way around.
Although, I am recommending to glue the latches down.- In case of the tolerance issues with the latching parts, the printed parts can be replaced with a soft cloth or fabric which should be placed on the same place.
Custom Section
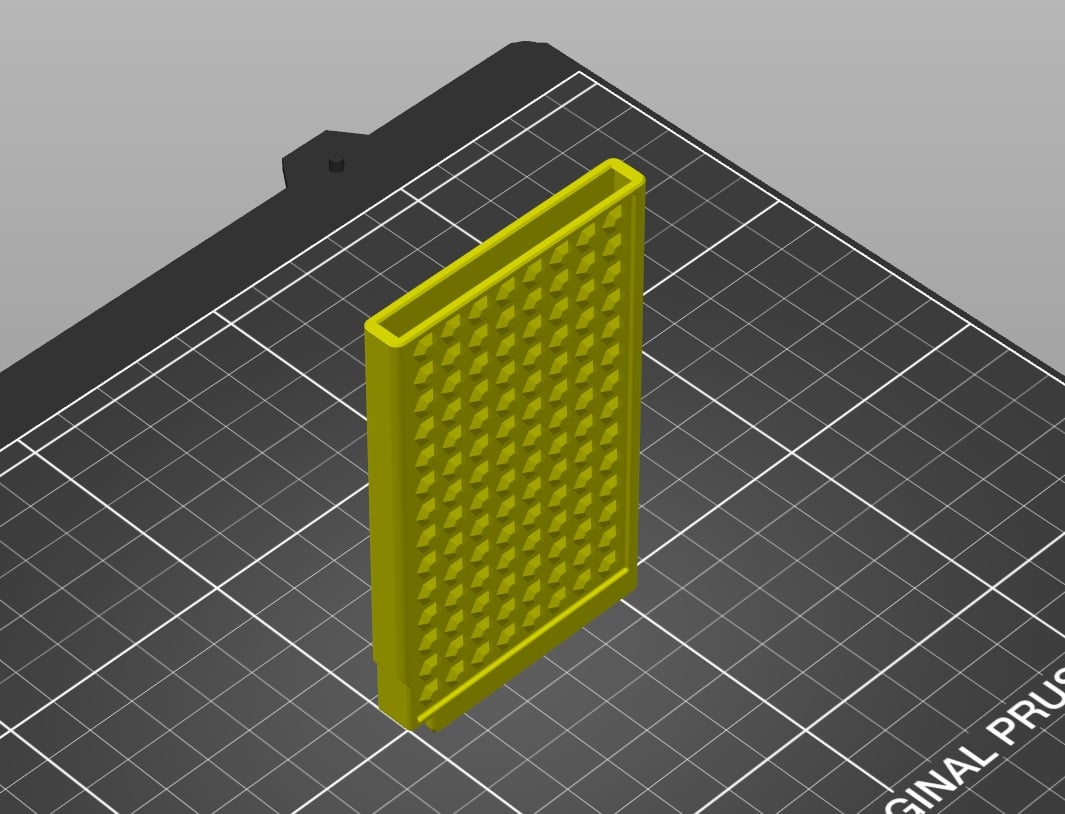
Walllet's Frame can be printed with Cards's opening faced the head. Supports from the bed only.

Side latches and ejector should be placed on the side (90°). Support everywhere.
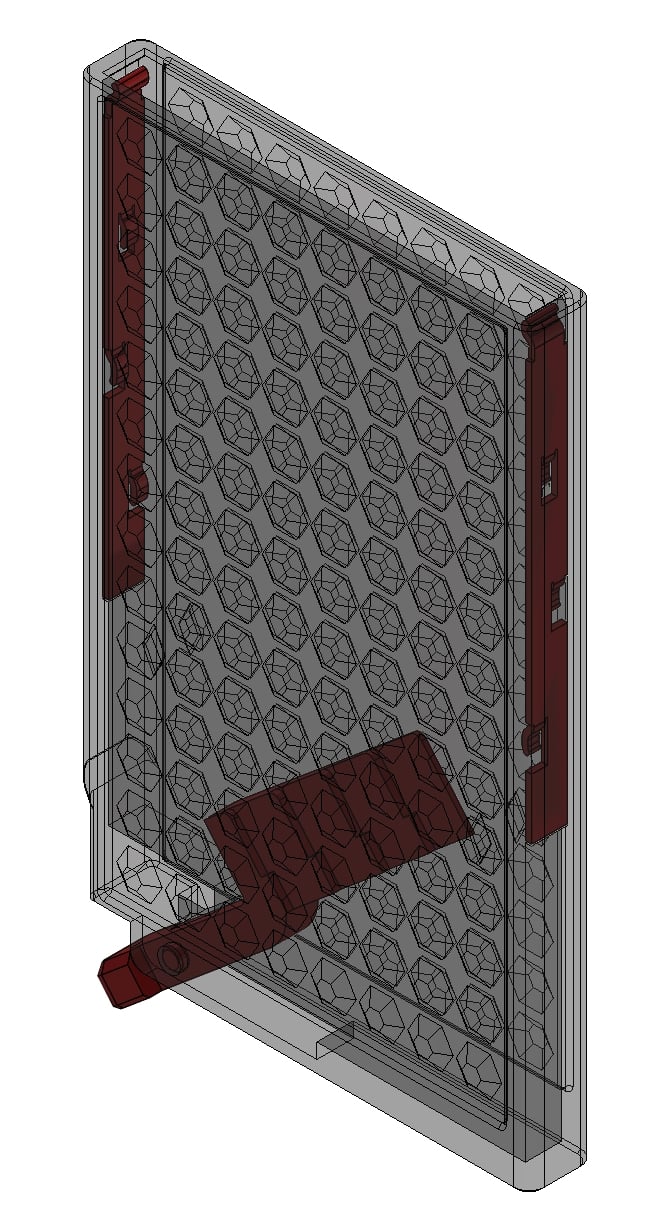
Detailed view
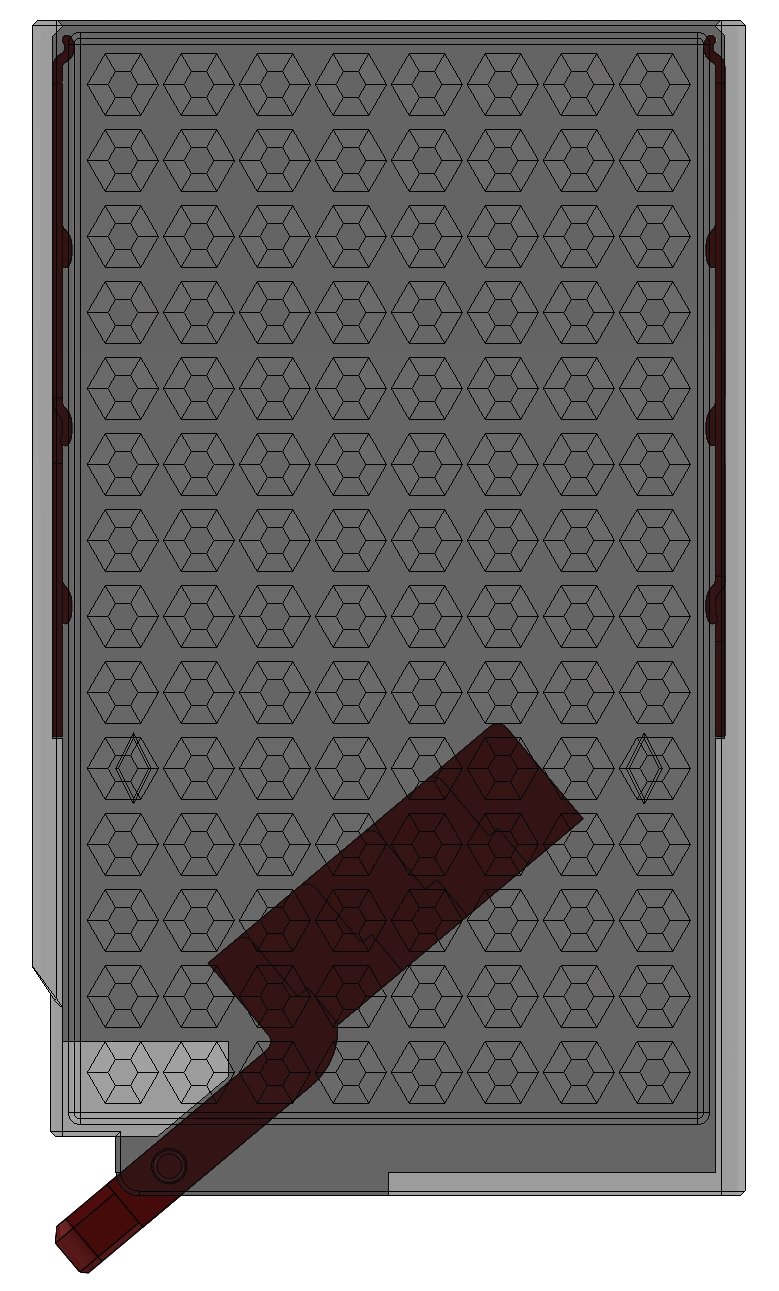
Detailed view
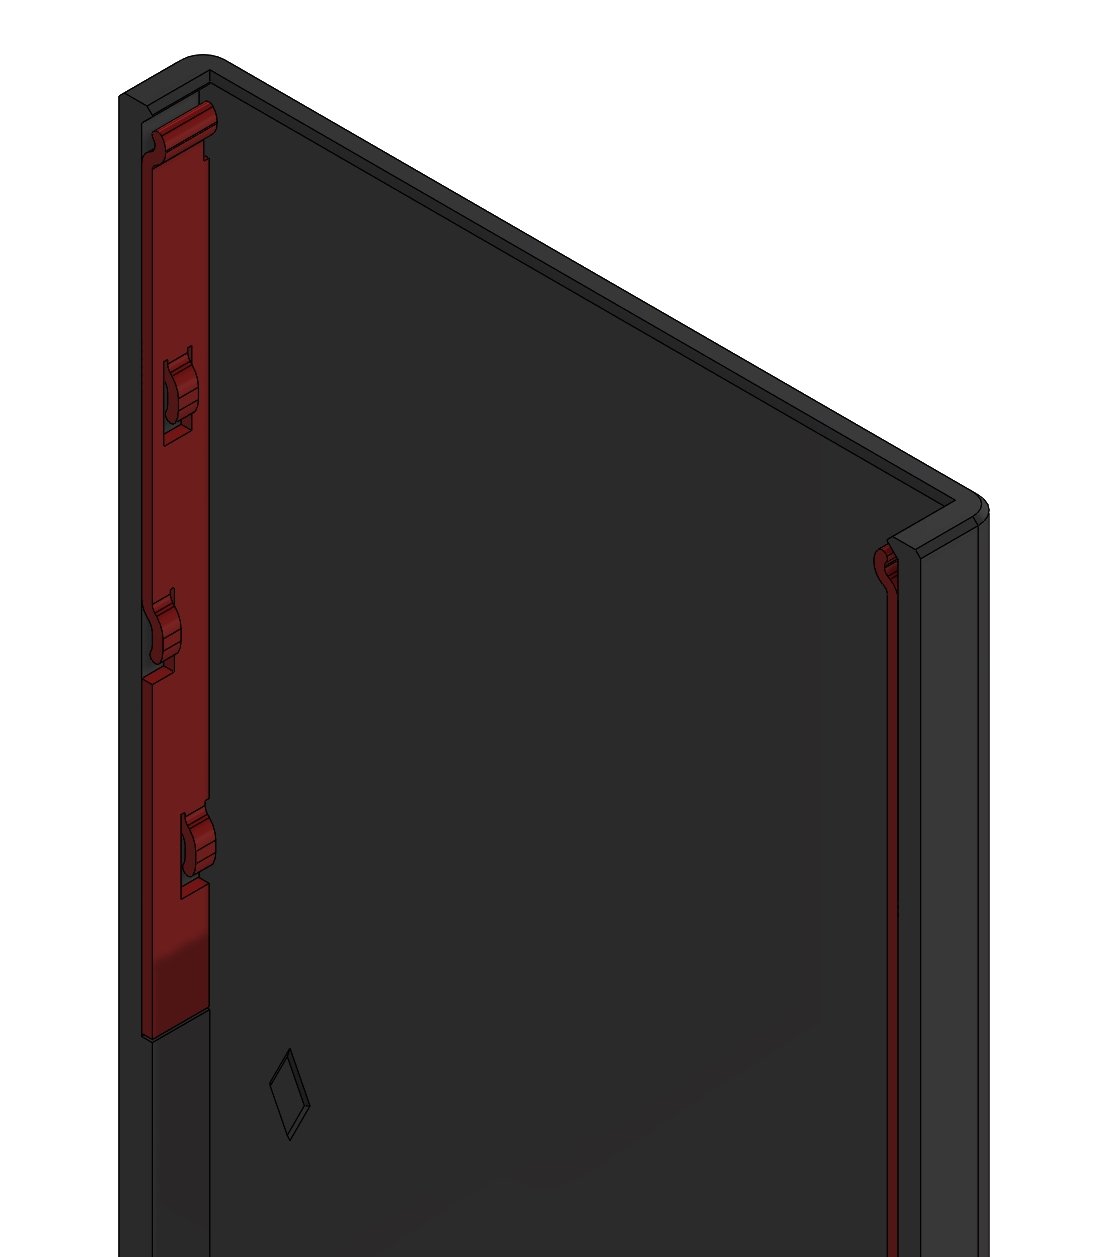
The latches shall be glued on both sides on the placed where they are touching the Frame.
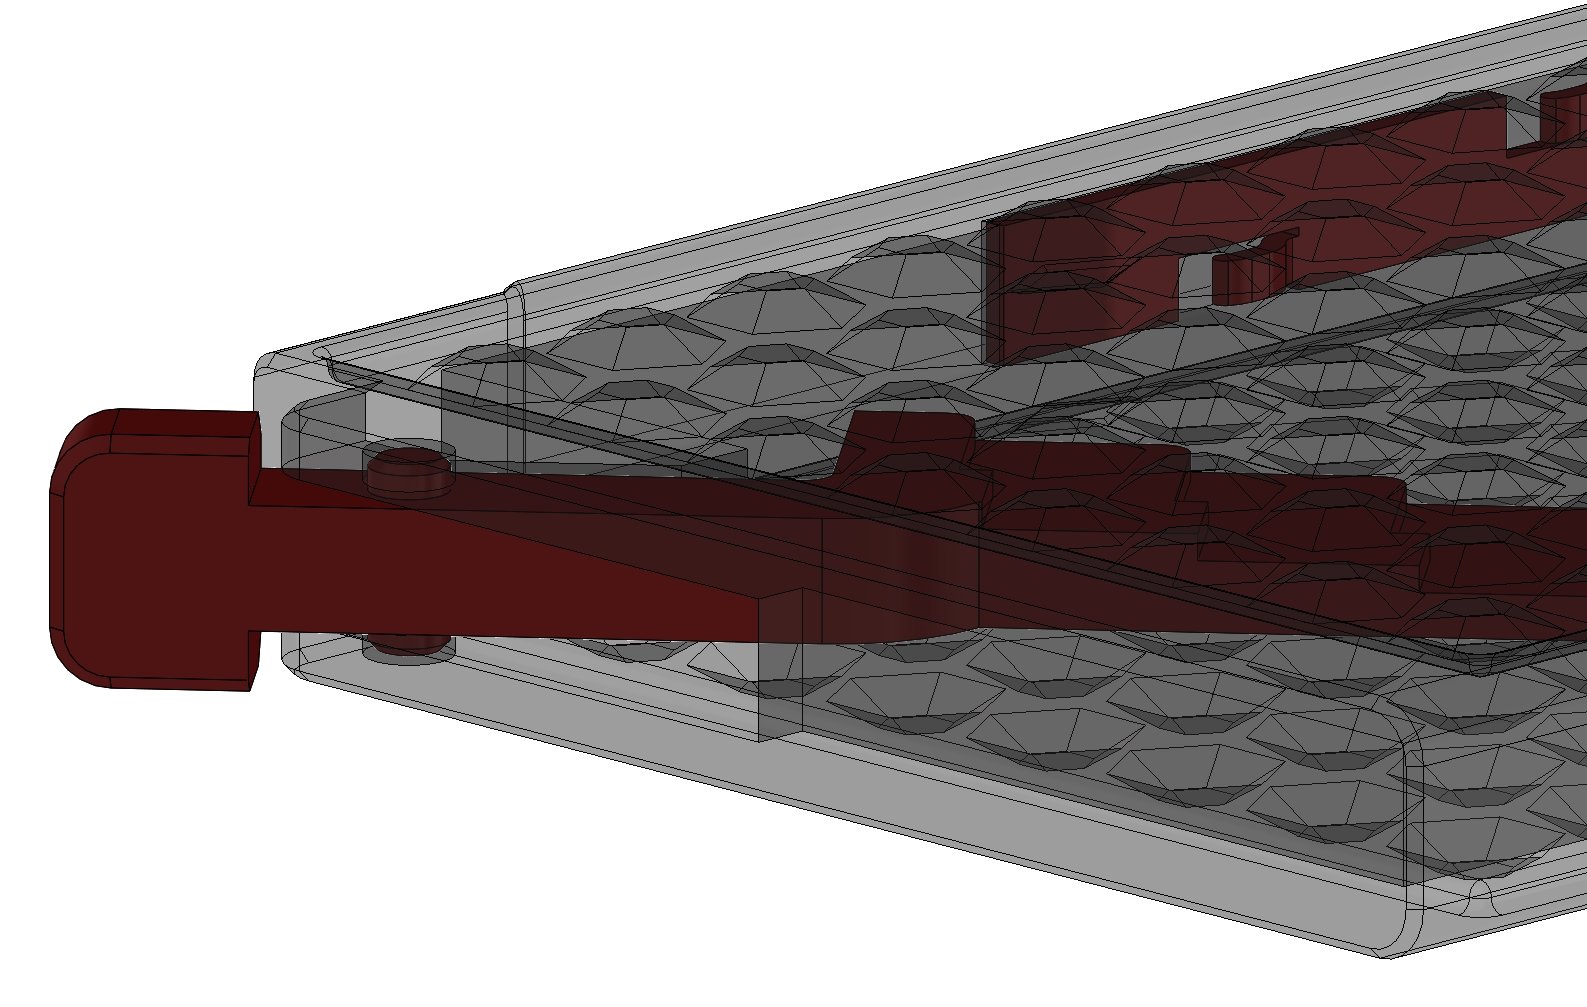
The Ejector shall be pushed in place with a force. Use pliers or similar tool to slightly band the Frame.
Tips & Tricks
Additional info
Dear colleagues it is wonderful to see how many of you like this wallet. I can see that some of you are struggling with assembling all printed parts into the functional wallet.
I hope you will find these few words as helpful advice.
1.) Inserting the ejector into the wallet frame:
Use pliers or similar tool to sligtly bend the sides of the frame to be able to press in the ejector.
Be patient otherwise is it possible to break the parts.
2.) Latching parts fixing in place:
In my case I am using both of them and they are not even glued to the frame. When the cards are inserted, they are holding the latches in place and other way around.
Although, I am recommending to glue the latches down.
3.) In case of the tolerance issues with the latching parts, the printed parts can be replaced with a soft cloth or fabric which should be placed on the same place.

💬Thingiverse Community Comments(91)
★Thingiverse Original Reviews